Getting Started Tips
Large, high definition images have huge file sizes. Make sure your images are optimized prior to uploading them to your website to enhance page load speed and reduce data usage on mobile devices.
Most consumers will wait about 3 seconds for a webpage to load on a desktop or laptop and about 5 seconds on their mobile device. Not everyone has the benefit of high-speed internet service, so it is best to keep file sizes as small as possible.
Try to keep your image file size to less than 200 KB and your total webpage size below 3 MB. This can be difficult sometimes, especially with larger images, but here are a few steps to help reduce your file sizes.
Optimizing Images in Photoshop
Resizing Images
Open your image in Adobe Photoshop.
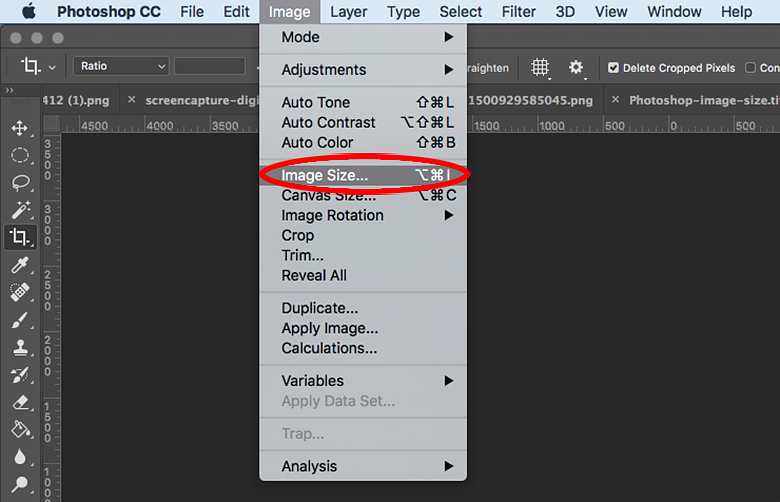
From the top menu, go to Image > Image Size.
Check to ensure that the resolution is set to 72 Pixels/Inch.
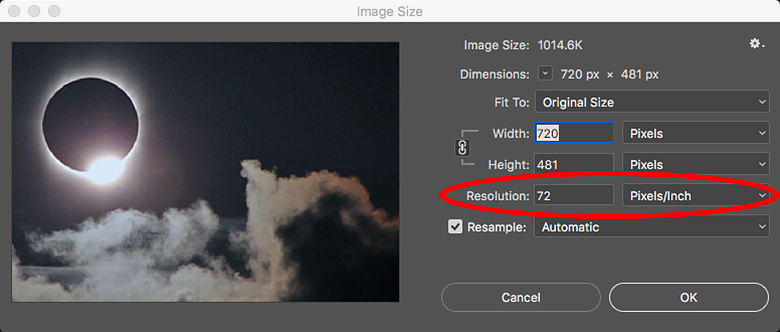
Ensure that Width is set to the correct size for the image location:
- When using images in the hero envelope template or feature images on article pages, images should be sized at 1440 px wide.
- On full-width pages with no left hand navigation, images should be sized at 1200 px wide.
- When using images in the feature envelope template, images should be sized at 980 px wide.
- On pages with left hand navigation, images should be sized at 780 px wide or less.
Image Color Mode
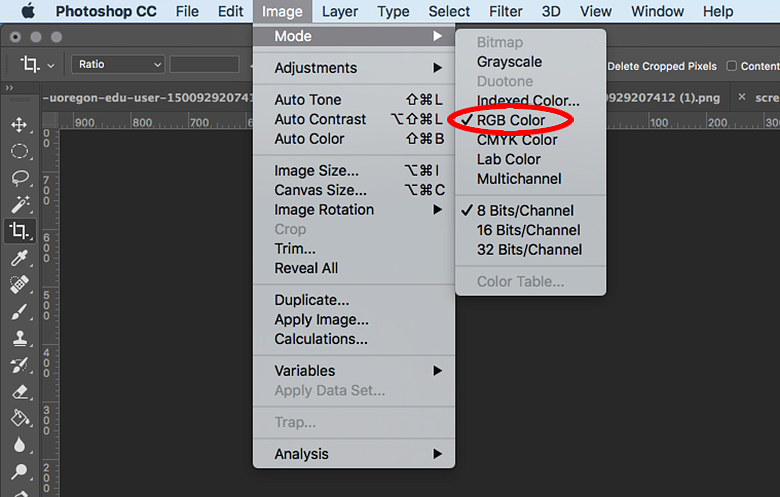
From Photoshop's top menu, select Image > Mode and ensure that the Image Mode is set to RGB Color.
Saving for the Web
From the top toolbar, go to File > Export > Save for Web (Legacy).
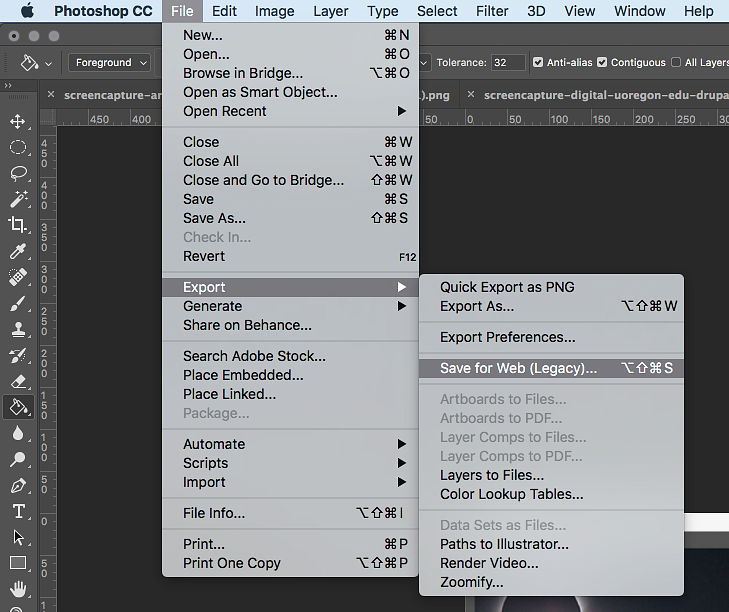
From the drop down for Present, select either JPEG Medium or PNG-24 and click Save.
- JPGs or JPEGs are the most popular file type for images on the web. JPGs are perfect for photographs or complex images containing lots of colors, shadows, gradients, or complex patterns.
- PNGs are a good choice for line drawings, text graphics, and iconic graphics. PNGs can also handle transparency.

File Naming
- Remove any characters that aren’t letters or numbers, with the exception of hyphens or underscores.
- Some ad blockers can hide or prevent images with "ad" words in the file name or Alt Text. To prevent an ad blocker from blocking an image, please avoid using "ad" words in your image names or image Alt Text such as:
- ad
- advertising
- advertisement
Optimizing Images with Adobe Express
If you do not have access to Photoshop, we recommend using the free, web-based Adobe Express program. You will need to have, or create, an Adobe account in order to use the Adobe Express program, but the Adobe account is free and not tied to any subscription based software you may already use.
Once logged in, use the following steps to create or edit an image with Adobe Express:
Click the + icon in the top left of the page and select the "From your photo" option.
Upload your image and click the "Start with this photo" button to go to the next page.
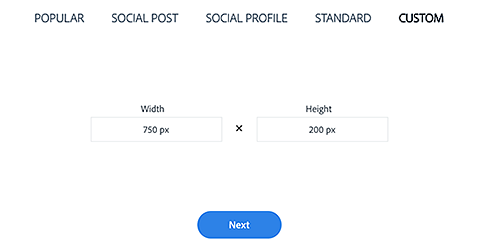
You could also use the "Create New" > "Custom sized graphics" option and set your own size:
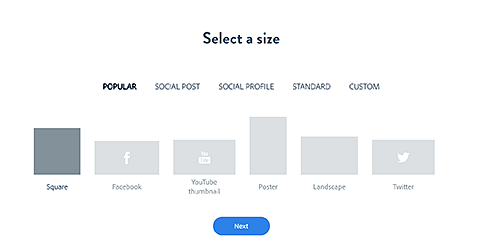
You can also use one of the Adobe pre-selected sizes:
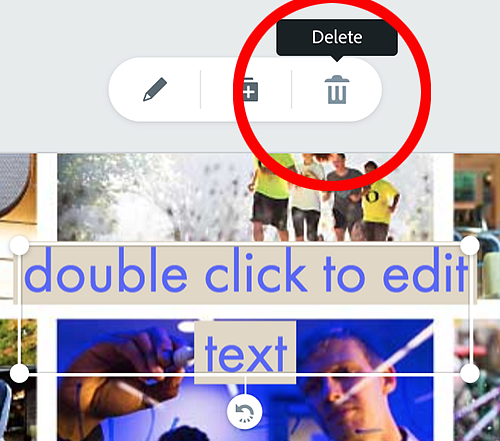
If there is text over the image and you want to remove it, click on the text and then click the trash can icon that is above the text to remove the entire text box.
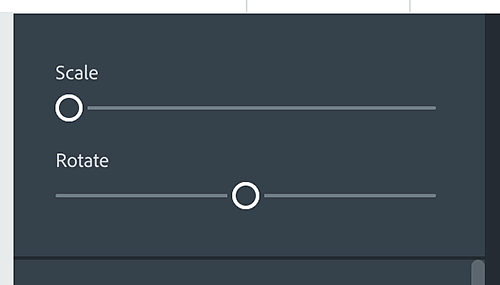
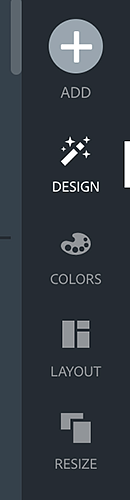
If you need to adjust the crop of your image, click on the image and drag it around until you are satisfied with how your image looks. If you need to "zoom" in or out, use the scale button on the right under the "Layout" menu on the right side of the editor window.
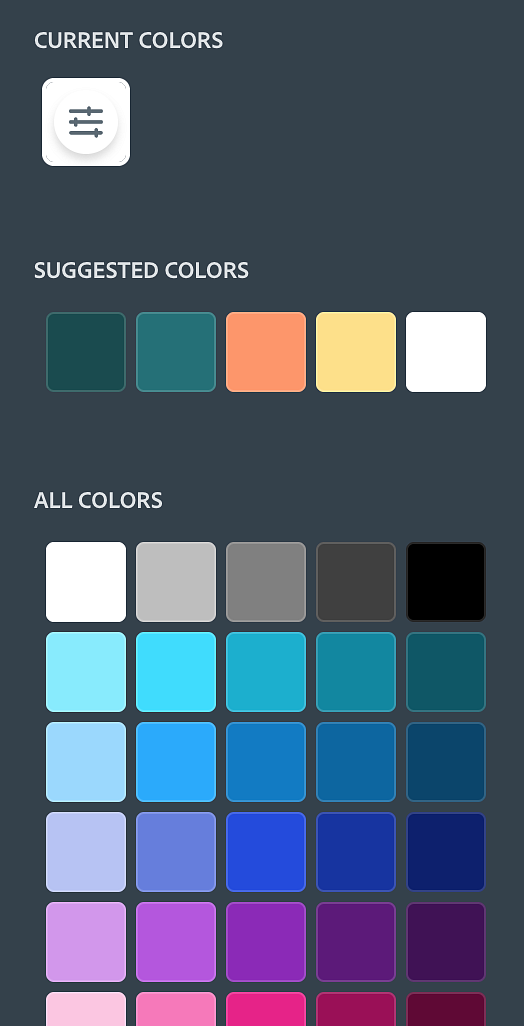
If there is a background color, click somewhere on the background and the right side editor area will change to give you color options to choose from:
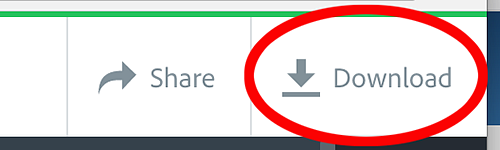
When you are ready to export your image into a file you can use outside of Adobe Express, click the "Download" button at the top right and choose where you want to save the image, making sure you rename it to something relevant to the image so that you know what the image is when it is on your computer or website.
Pro Tips:
- Adobe Express will automatically save your project as you are working on it so you don't need to do anything for your project to be saved.
- If you are working on your project and you don't see the menu you are looking for, try clicking off the image or onto the image. Most of your editing will be done on the primary sidebar, where you can change the different image settings or add items to your project.
- If an image size is one you will commonly use, name your project with what that size is (such as 300 x 200) and just use that project as a template and replace the image, or you can clone that project instead of creating a whole new project for each image.
Important Note: Adobe Express may not export your images at the highest resolution so if precise image quality is critical, we recommend using Adobe Photoshop or Illustrator.