Add Photo Buttons
Like call to action buttons, button photos are button links you use in your website to guide your users toward important actions you want them to take on a page.
Although not required, photo buttons are typically used in grids. If you would like to use a grid, add a grid first, then add a photo button in each grid item.
You can also insert a photo navigation pattern template. It comes pre-populated with a three-column flush grid of photo buttons.
Here's a screenshot of three photo buttons in a grid on a marketing page:

To insert a photo button on the page, place your cursor where you would like the photo button to go, then click the UO Edit Suite Templates button in the editor toolbar. (Visit the Drupal Content Editor page to learn about the editor toolbar.)
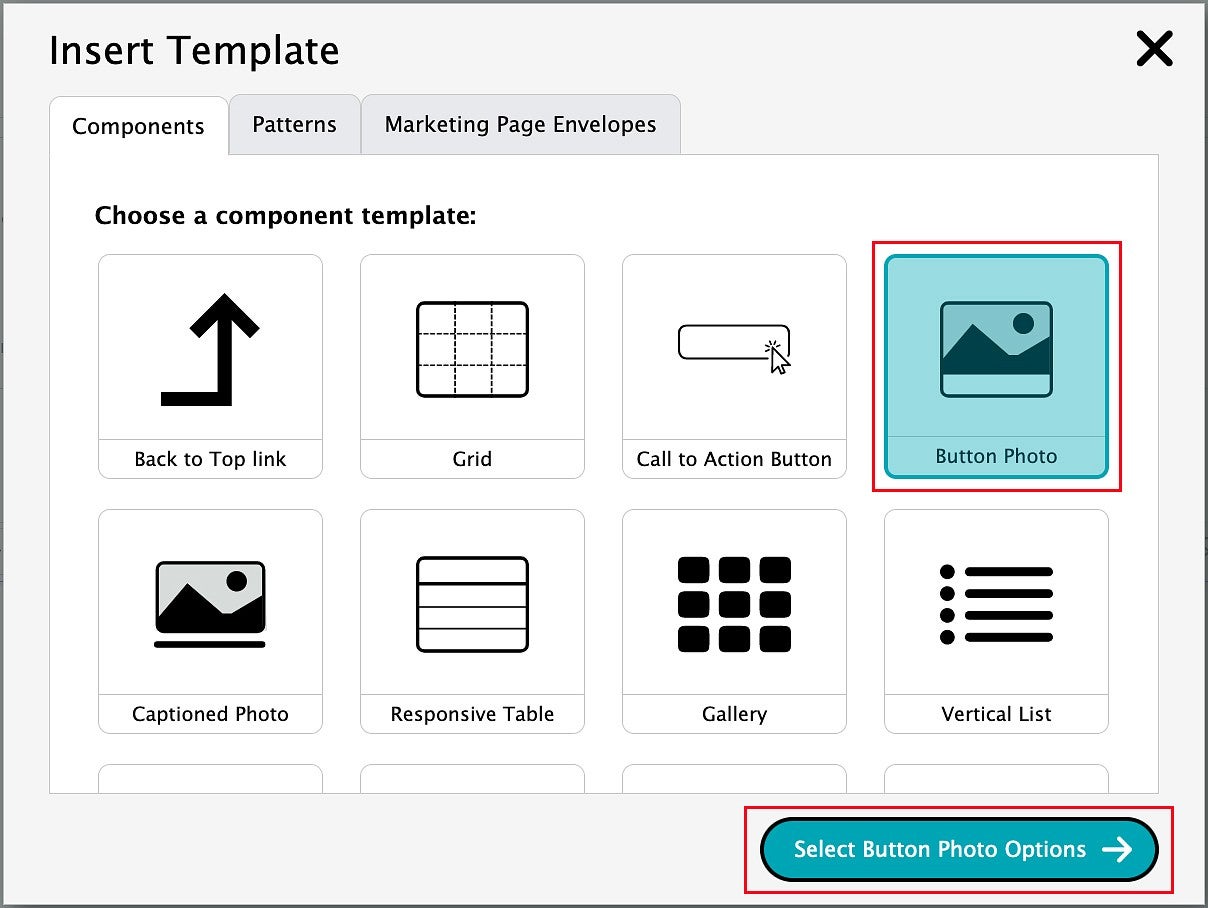
Click the "Button Photo" option and then click the "Select Button Photo Options" button.
There is only one style available at the moment, so click the "Button Photo" option, then click the "Insert Template" button.
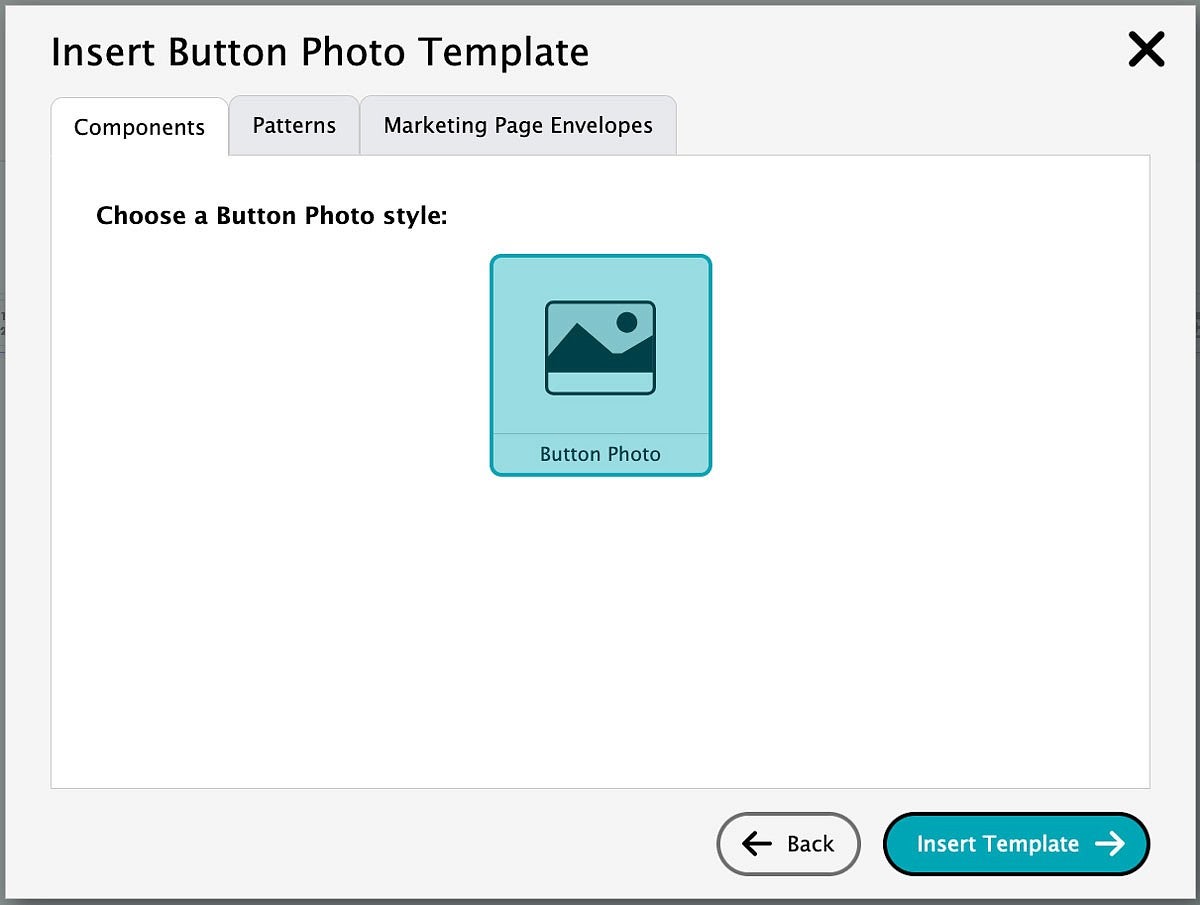
The photo button template will appear in your page.
Replace the Placeholder Photo
Now that you have a photo button template in your page, you will need to replace the placeholder photo that comes with the template.
Click the placeholder photo and then click the Insert Media button in the editor toolbar.
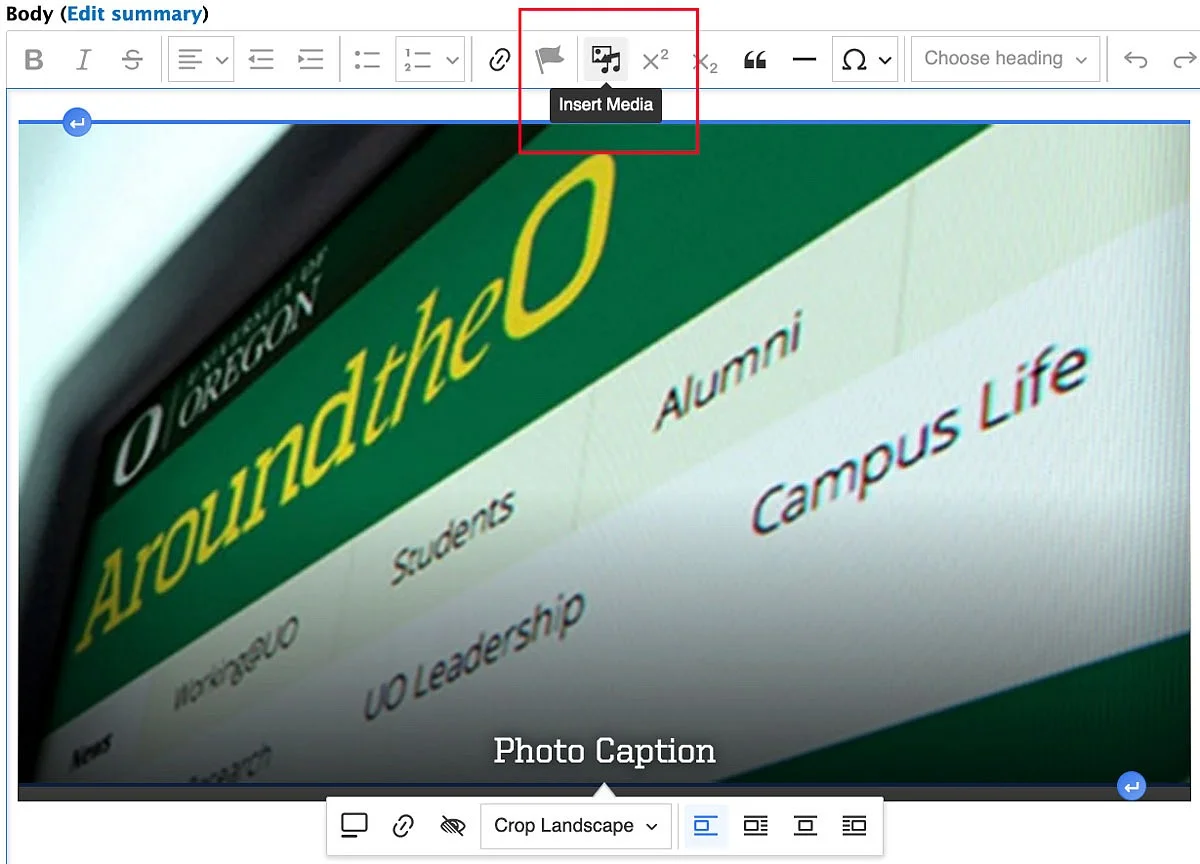
Visit our Images page to learn more about adding images to your page.
Add the Button Text

Add a Link
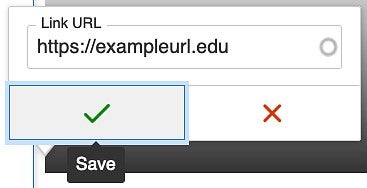
To add a link to your photo button, click on the photo button text and select the pencil icon to edit the link.
Paste or type the URL you would like to use into the Link URL box. Click the Save button, which features a green check mark.
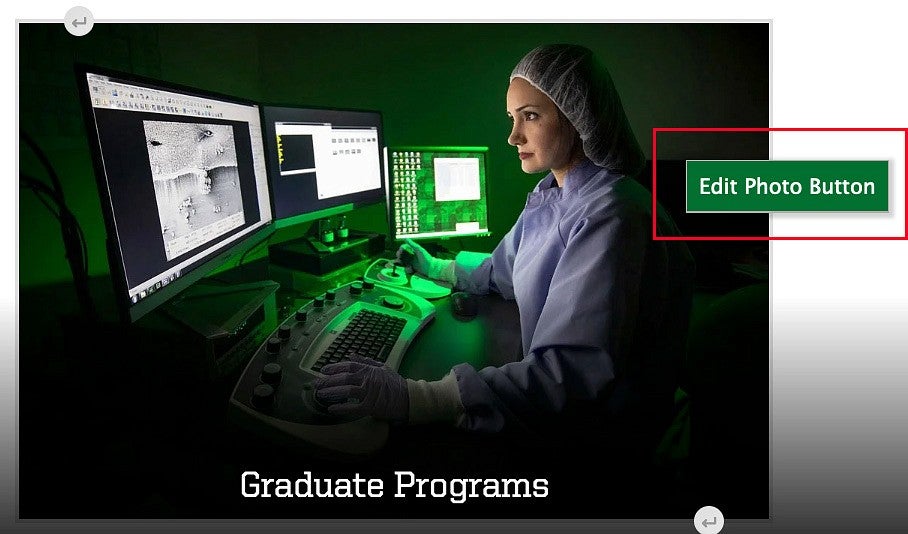
Edit Photo Buttons
Right-click on the photo button and then click "Edit Photo Button".
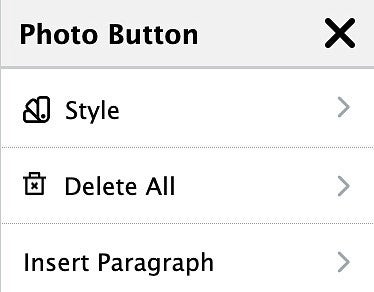
The Photo Button editing menu will open on the left side of the page, providing the following options: Style, Delete All, and Insert Paragraph.
Style
Click "Style" and then "Photo Button" to open the style options menu.

The menu offers three options: with shade, without shade, and bottom gradient. Select the option that works best with the images you are using in your buttons. If using buttons in a grid, select the same style for all buttons in that grid.
Photo Button with Shade
This option includes a shaded area behind the text in the center of the photo button to improve contrast between the text and the image.

Photo Button without Shade
This option works best with simple backgrounds that offer high contrast between the text and the image.

Photo Button with Bottom Gradient
This is the default setting. It works well with many images, placing the button photo text at the bottom of the image with a gradient at the bottom to improve contrast between the text and the background.

Delete All
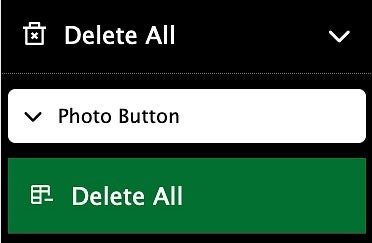
To completely remove your photo button from the page, click on "Delete All" and then click "Photo Button" to open the delete menu.
Click the "Delete All" button to remove the photo button.
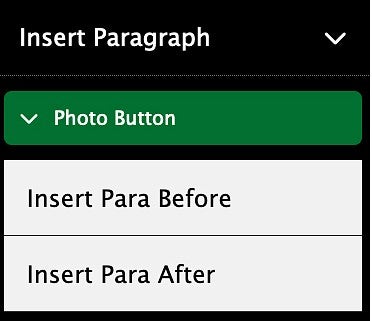
Insert Paragraph
To insert an empty paragraph before or after your photo button, click "Insert Paragraph" and then "Photo Button" to open the menu.
Click "Insert Para Before" to insert a paragraph before the photo button.
Click "Insert Para After" to insert a paragraph after the photo button.