The Cosmic V2 theme includes the latest UO branding elements as well as a number of important accessibility improvements. It also eliminates the need for the UO Banner and Footer plugin.
The original version of Cosmic should not be installed on new blogs.
Site managers are encouraged to convert existing blogs from the original Cosmic theme to Cosmic V2.
Activate the Cosmic V2 Theme on a New Blog
From your site's Dashboard, navigate to Appearance > Themes.
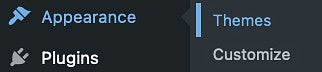
On the Themes page, search for "cosmic" in the search box at the top right. Two versions of Cosmic will appear. Hover over the "cosmic-wp-2" version and click the blue Activate button.

- See additional instructions if you are converting from the original Cosmic to Cosmic V2.
Customizing the UO Blogs WordPress Cosmic V2 Theme
To customize the Cosmic theme, click Appearance in the Dashboard, then click Customize.
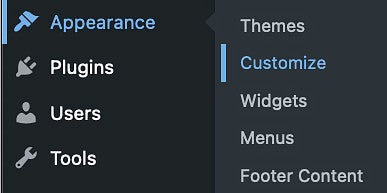
You will see the following menu:
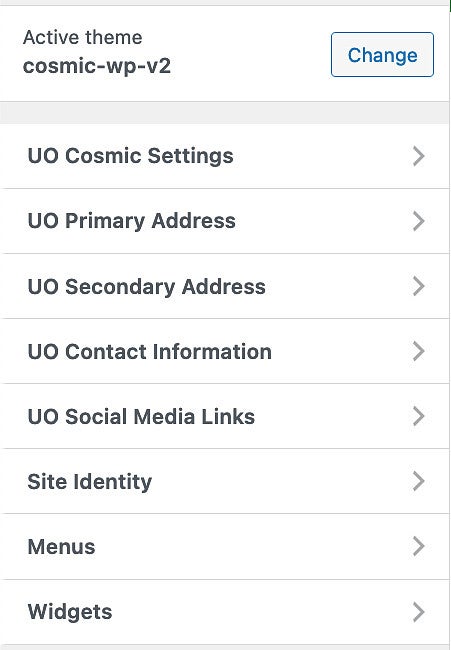
Follow the instructions below to customize each section of the menu pictured above.
Be sure to save your changes: Whenever you have unsaved changes, a blue "Publish" button will appear in the upper right corner of the menu. Click it any time you would like to save your changes.
UO Cosmic Settings
- Set the Custom Page Width to 1200.
- Add custom Apply, Visit, and Give URLs if desired.
- Add custom content to the footer in the Custom Content field if needed.
- To use the University of Oregon fonts on your site, check the box "Enable Licensed Fonts" at the bottom of the Cosmic Settings menu.
- Note: The is should only be activated if the site includes .uoregon.edu in its domain. 3rd party sites are not permitted to use the licensed UO fonts.
UO Primary Address, Secondary Address, Contact Information, and Social Media Links
- Enter information into the fields provided to suit the particular needs of your website.
Site Identity
- Here, you can edit the Site Title and other text areas within the site header. The location of each text area is described in the menu.
Menus
- New blogs come with a standard Primary Menu that contains one sample page. To add to this existing menu, go back to the Dashboard and click Appearance, then Menus. You can keep the sample page and change the page title in the menu, or you can remove it. You can also add additional pages here.
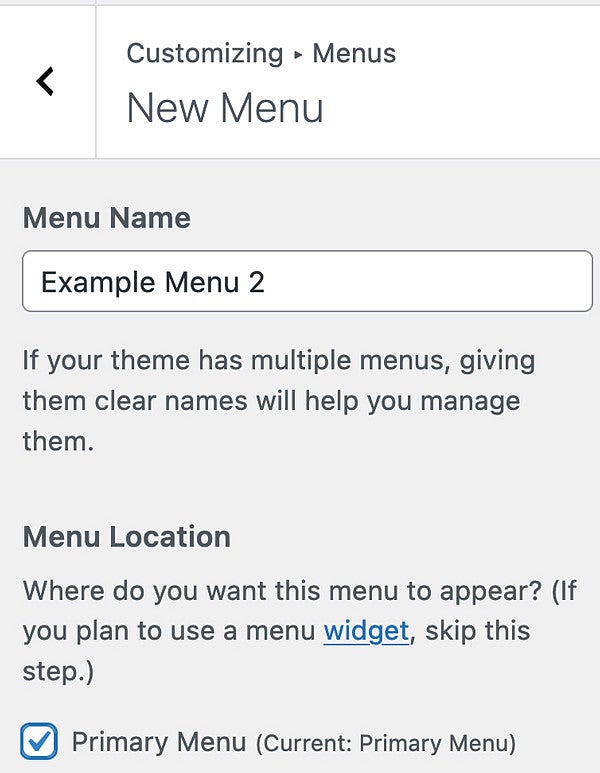
Click on the menu that you would like to be the primary menu that appears across the top of your website underneath the banner. This could be the default Primary Menu, or it could be another menu that you have created.

After selecting your preferred primary menu, click the checkbox next to "Primary Menu" to make this menu the primary menu.
- You can also add additional pages to this menu by clicking the "+ Add Items" button. In the menu that opens on the right, you can select from existing pages, or you can type in a new page name in the "Add New Page" field and then click the "+ Add" button. This is a quick way to add new pages to your site when you know what the page titles will be.
- Click the blue "Publish" button to save your changes.
Widgets
- To add or edit sidebar widgets, click "Widgets" in the Customize menu.
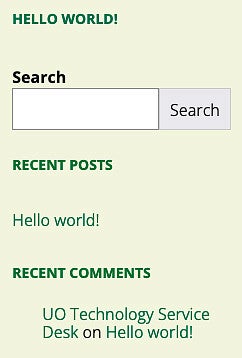
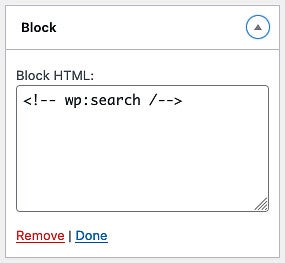
Three blocks are available in the sidebar by default. The blocks provided are Search, Recent Posts, and Recent Comments. These blocks can be modified or deleted by clicking on the Block button for each block. (New blogs load with a "Hello world!" sample post, which you will see referenced in the default sidebar screenshot on the left side below.)
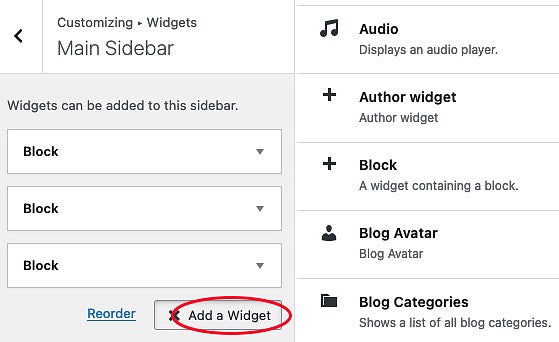
- To add a widget, click on the "+ Add a Widget" button. A list of available widgets will open on the right side, a portion of which is shown in the screenshot below.
Homepage Settings
- To choose what is displayed on the homepage of your site, click "Homepage Settings" in the Customize menu.
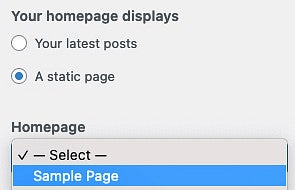
- A new blog will likely be on the default setting, which displays your latest posts. This works well for sites that follow a blog format. However, if you are using your site as a website that contains fairly static pages arranged in a menu, you will likely wish to create "pages" rather than "posts", and will display a particular page as your homepage:
Click the radio button next to "A static page" and then use the dropdown menu that appears in order to select a specific page to display as your homepage.
Make sure to click the blue "Publish" button in the upper right corner of the menu to save your changes.