Captioned photos are photos with a caption below them that can be inserted in the body text.
Add Captioned Photos
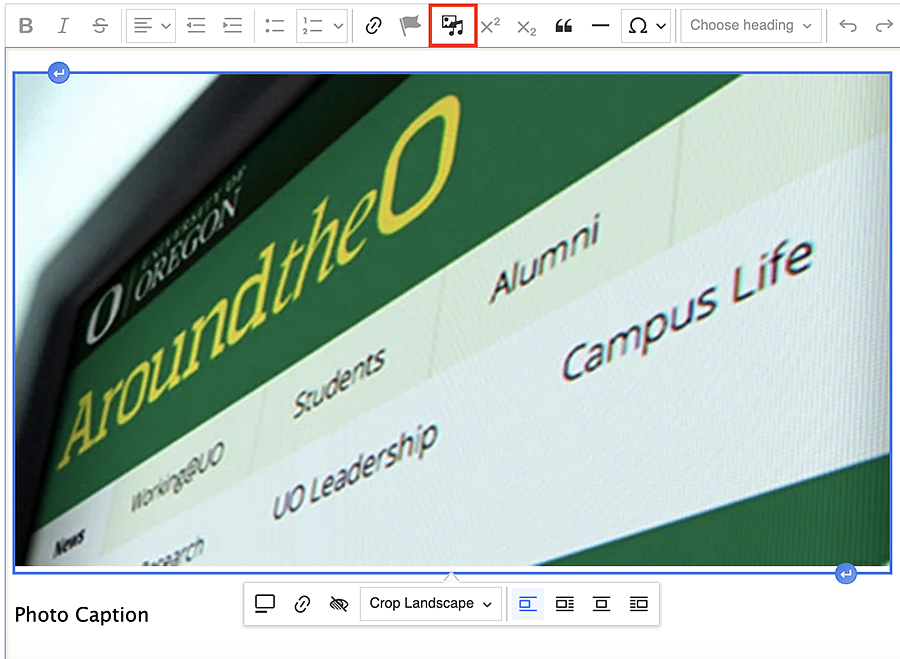
To create a captioned photo, you will need to click on the template icon in the editor toolbar.
Choose the "Captioned Photo" option from the templates. Then, click "Select Captioned Photo Options."
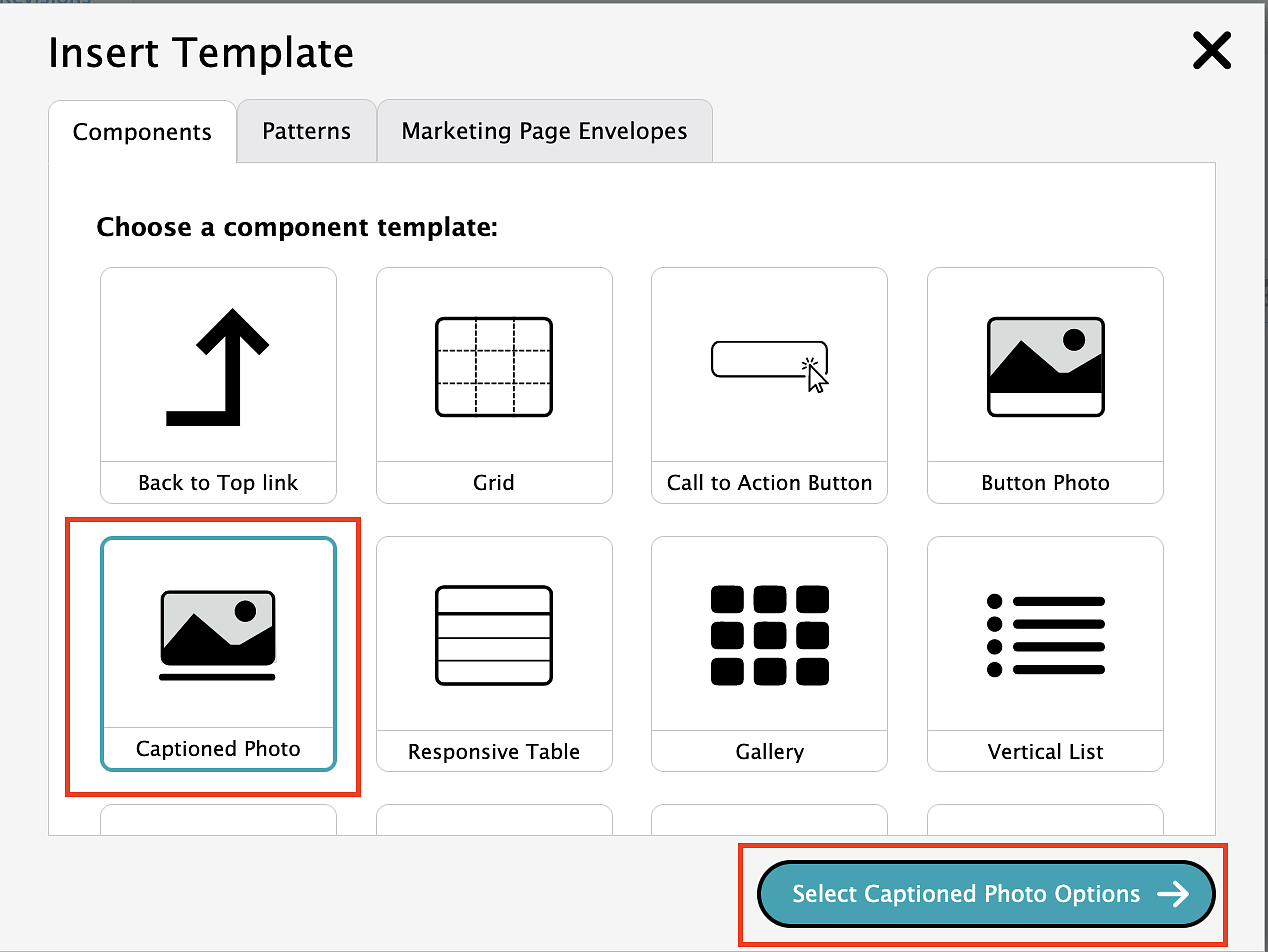
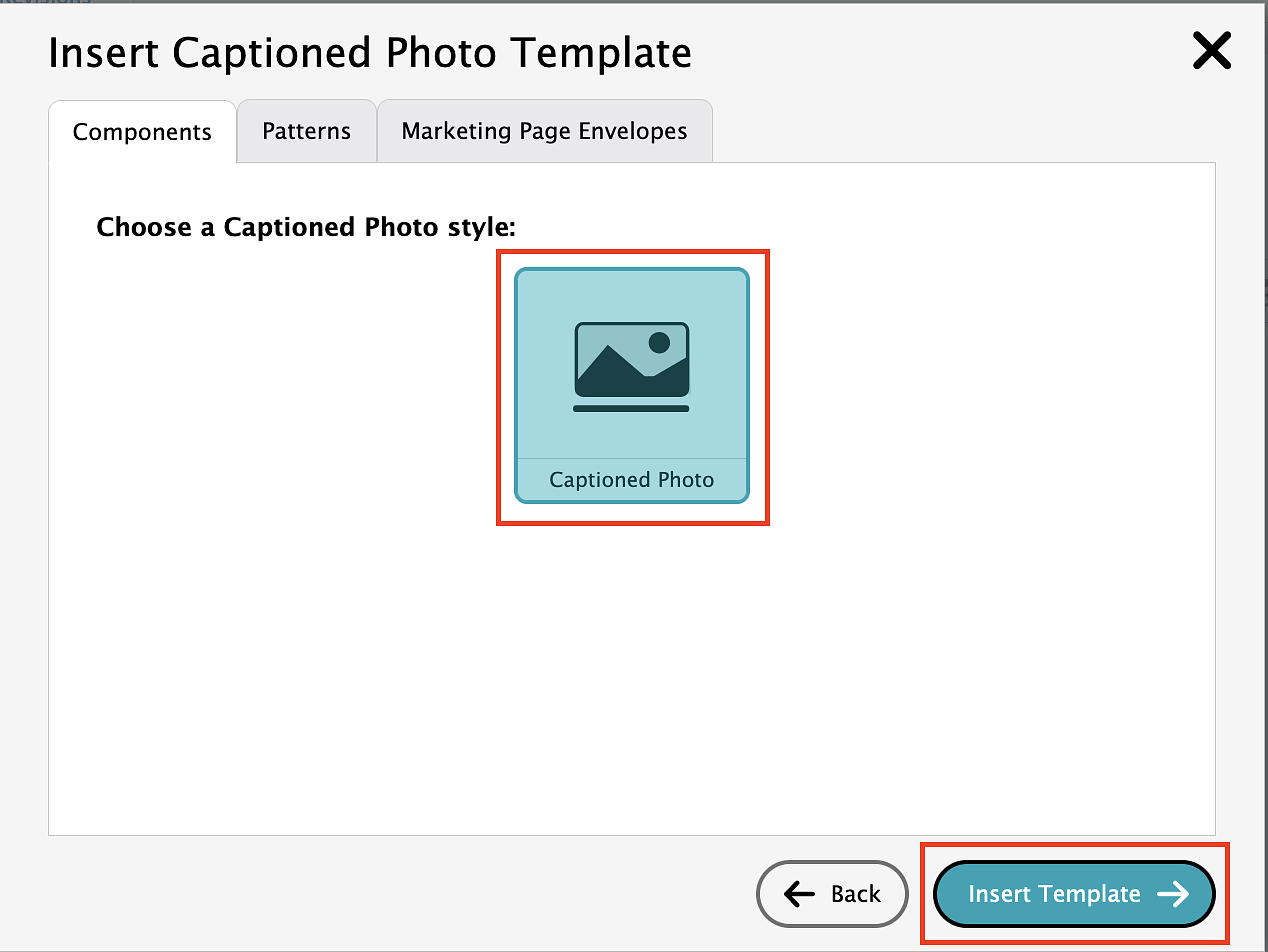
Select the Captioned Photo option again then click the "Insert Template" button and it will automatically insert a new captioned photo.
Highlight all of the existing "Photo Caption" text and type in your new caption text.
To add your photo, click on the placeholder image, then the insert media icon in the WYSIWYG editor. That will bring up the media browser popup box that you see when you add new images and will function exactly the same, except you are replacing the existing placeholder image with a new one. Follow the same steps as adding a new image and the old image will be replaced by a new one.
Delete Captioned Photos
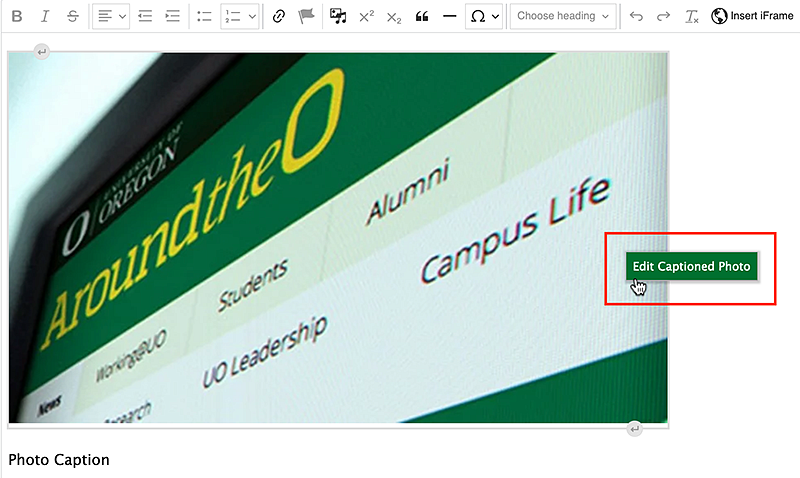
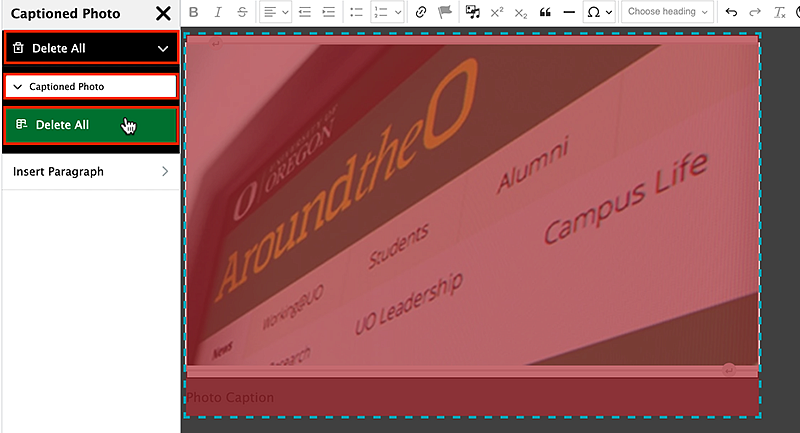
To remove the entire captioned photo, right-click on the image and select "Edit Captioned Photo." This will bring up the sidebar editor.
From the sidebar, select "Delete All" then "Captioned Photo." Click the "Delete All" button and the entire captioned photo will be deleted.
Default Image Captions
Images also have an alternative caption option built into our Drupal theme. The default captions can be accessed from the image pop-up window that appears when you click on an image in the Drupal content editor.
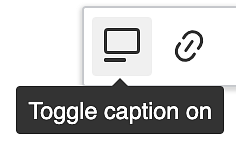
In the image pop-up window, click on the "Toggle caption on" icon on the right side of the image editor pop-up window. Clicking the caption icon will cause a new text field box to appear below your image where you can add a caption to your image. If you no longer want a caption on that image, clicking the caption icon will turn the Drupal caption off.
Note: The default Drupal caption option will not have the same text formatting options that the Drupal "Captioned Photo" Template does, so you may need to use the template instead if you you find you are missing any formatting or style options.
