Add New Files
To upload a file to your site:
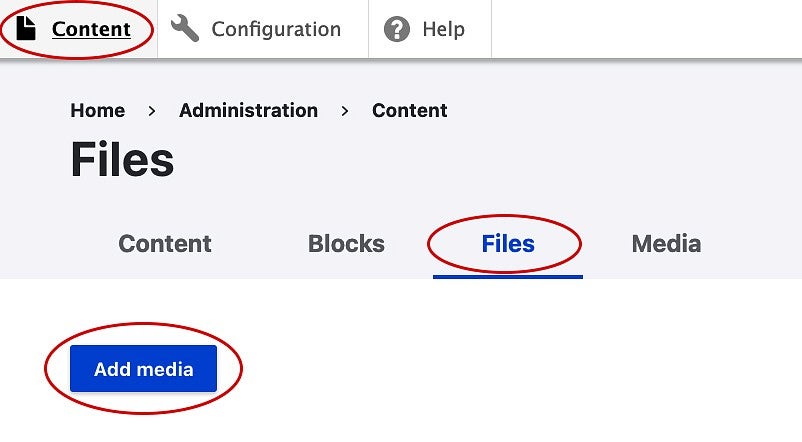
- Click on the Content tab, then click the Files tab.
- Click the blue Add Media button.
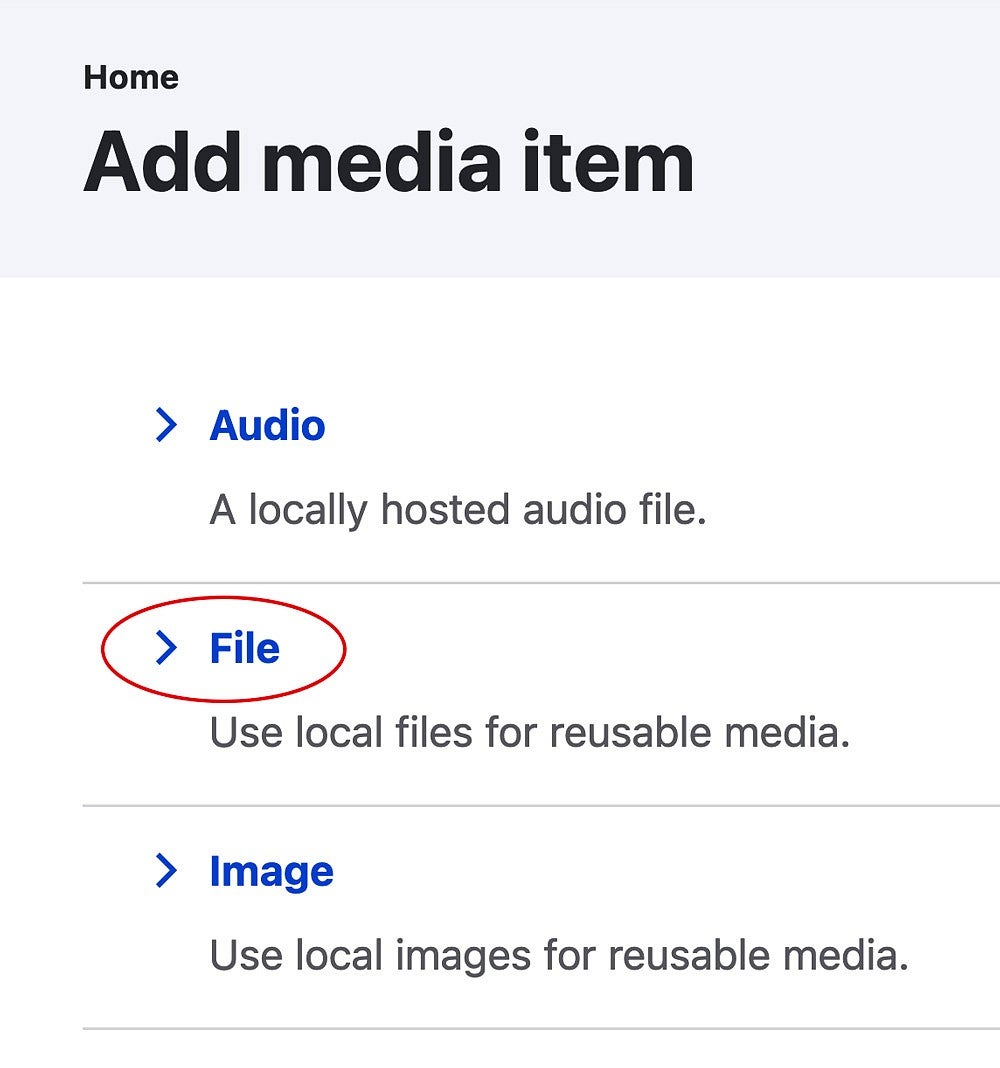
- Click on the File option.
There is a 10MB limit. Allowed file types are: txt rtf doc docx ppt pptx xls xlsx pdf odf odg odp ods odt fodt fods fodp fodg key numbers pages zip
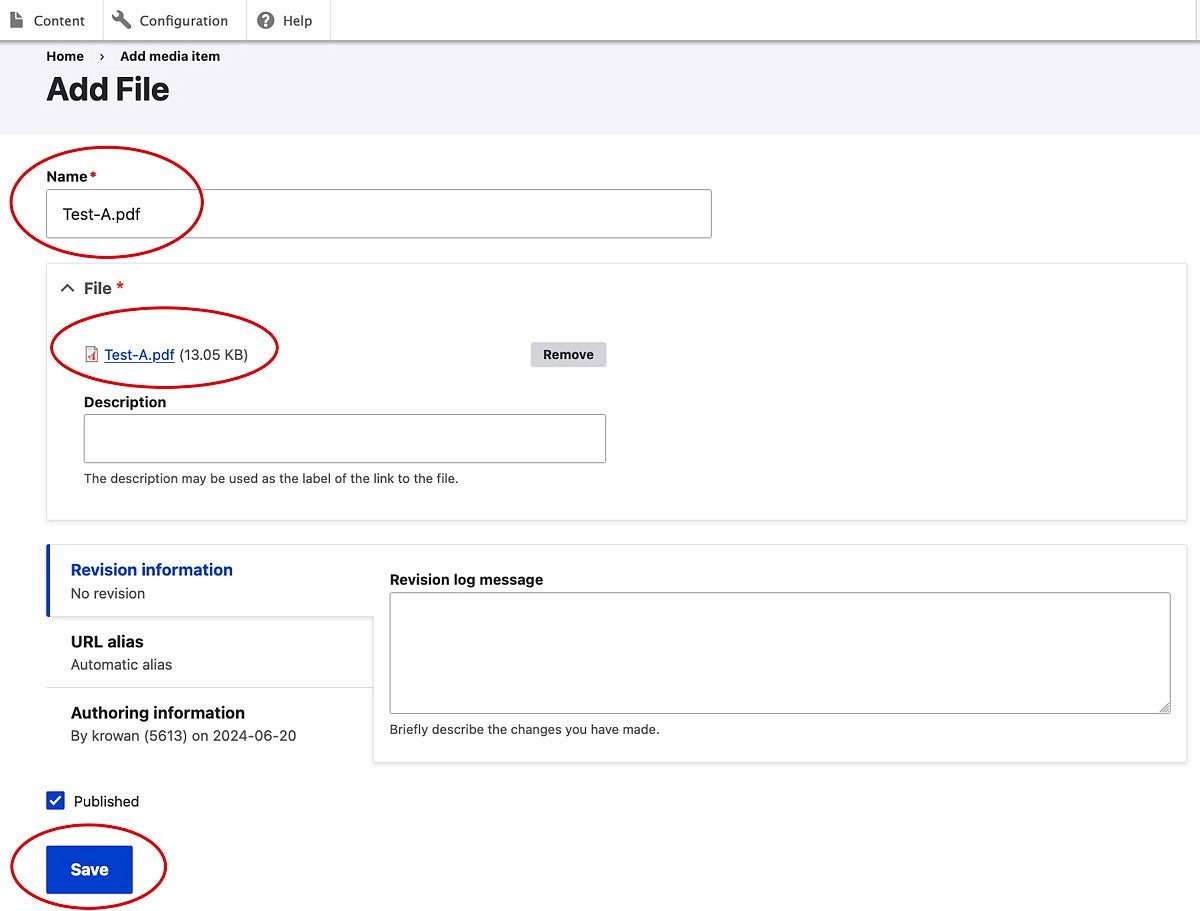
- Click the Browse button and select your file.
- Add a file name in the Name field. This should match the name of your file so that the media item is easy to find when you need to delete the file later.
- Click the Save button when you are finished.
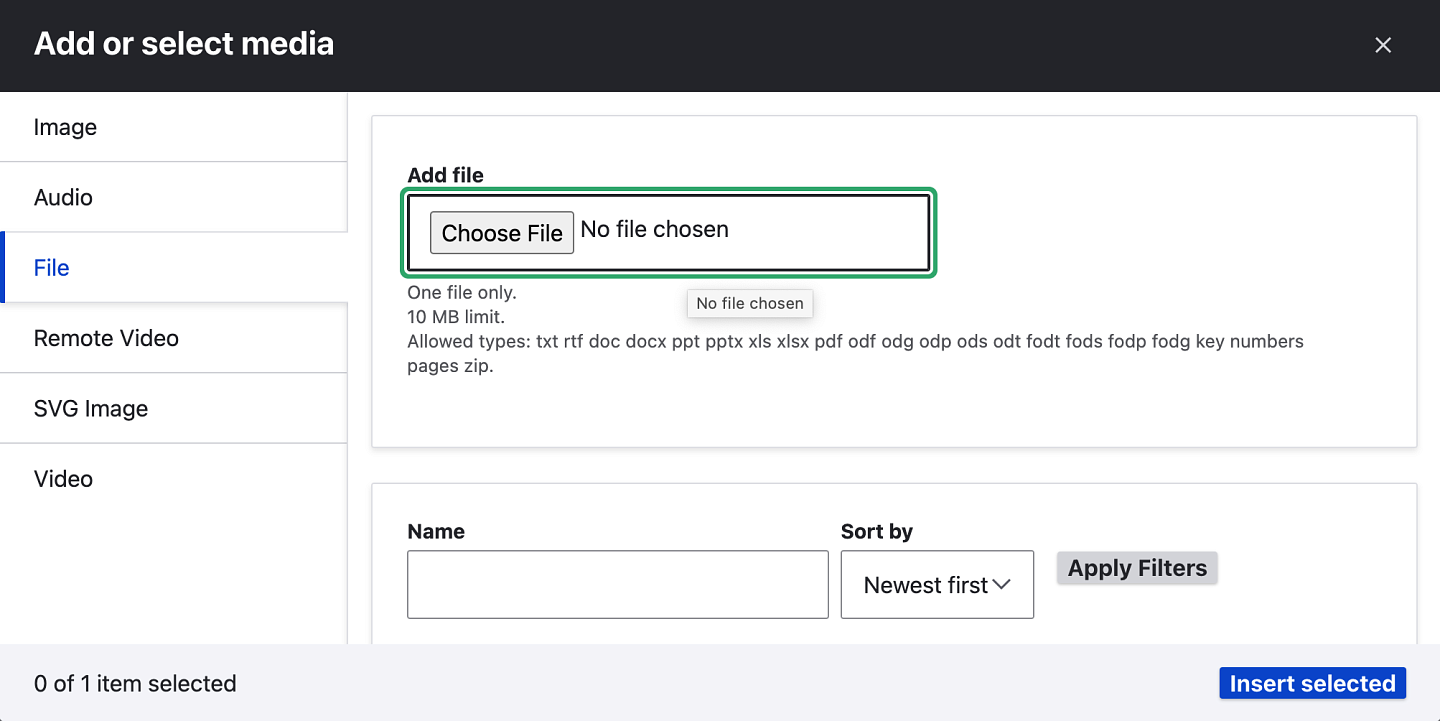
You can also upload a file while editing your page's content. Click the "Insert Media" button in your page's editor menu as you would when uploading an image.
Select File on the left side set of options instead of Image.
If you need to add multiple files, it's best to add them all at once. See Upload Multiple Files for more information.
Link to Existing Files
To add a link to a file while editing a page when the file has previously been added to the library:
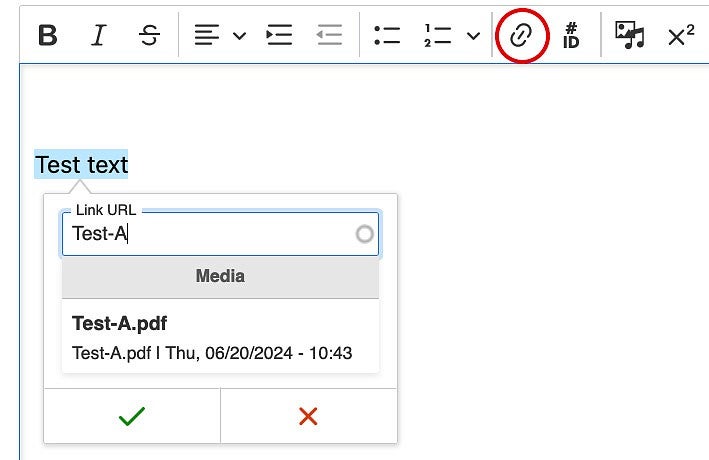
- Highlight the text you want to link to the file.
- Click the link button in the toolbar.
- Type part of the file name in the search box. A list of possible files will appear. Click on the file you want to link to and the Link URL will be automatically added.
- Click the check mark button to save.
NOTE: When you are linking to a file there is no way to control how a linked file functions for your users as that is something controlled by their browser. As an example, when the user clicks a PDF link we cannot force their browser to always download the PDF or to always have the PDF open in the same page. Always ensure that your PDFs are accessible.
Replace or Update a File
Some files need to be replaced with updated versions from time to time. Replacing an existing file and removing the old file, rather than simply uploading a separate new file, helps prevent search engines and AIs from finding outdated information on old files on your website. This also helps remove potentially inaccessible files and takes up less server space.
How to Replace or Update a File:
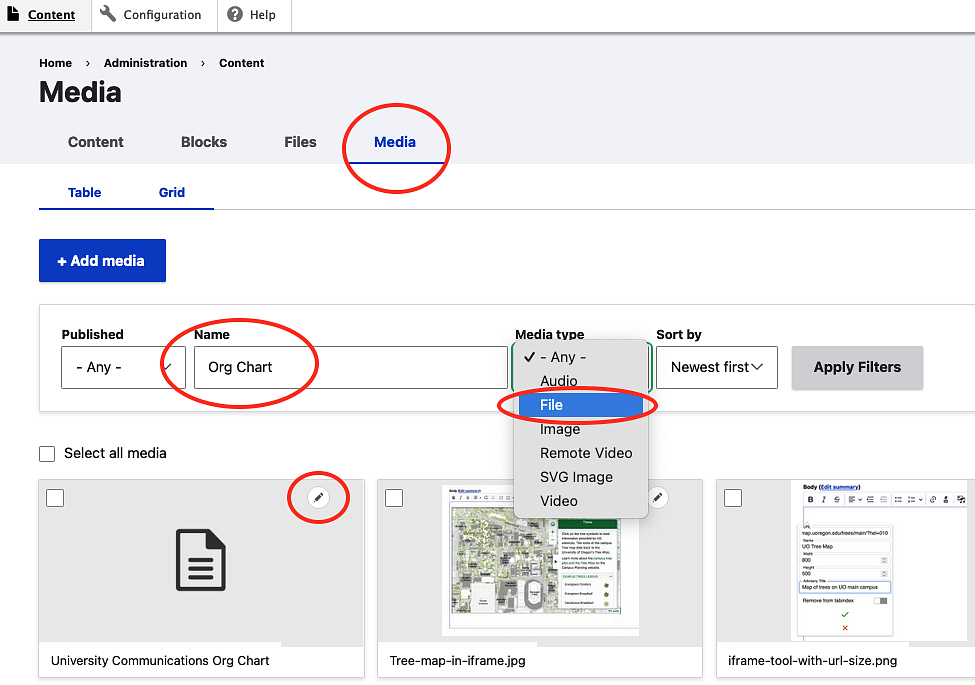
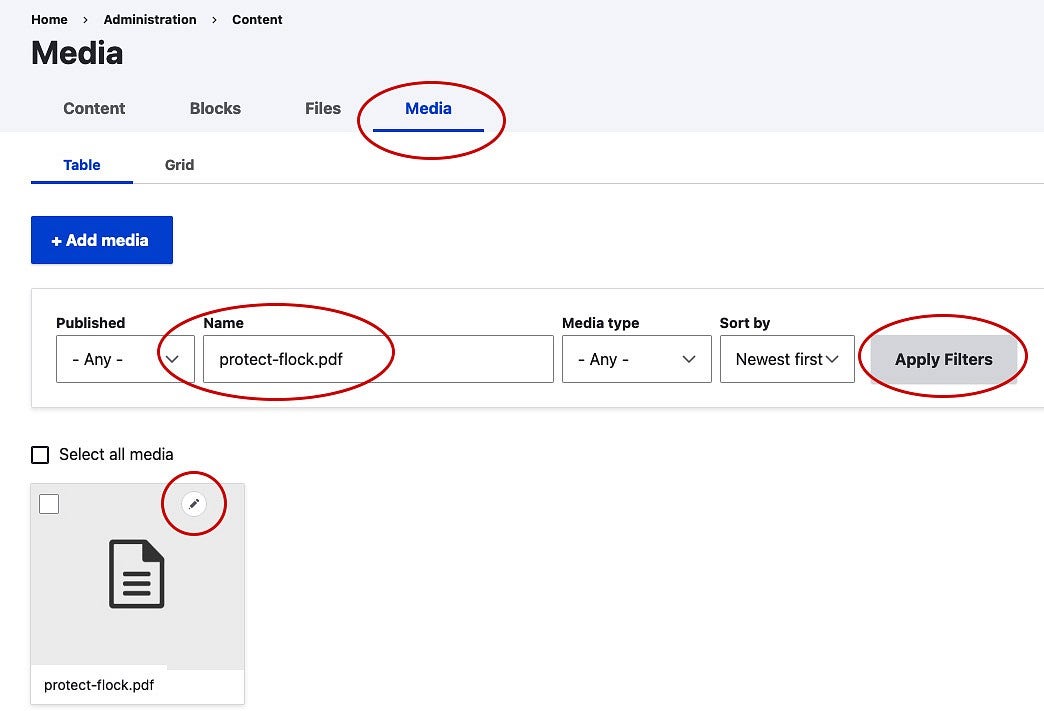
- Navigate to the Media tab and search for your file. Type all or part of the file name into the Name field. You can also select "File" from the Media Type list to narrow the search if needed. Then click "Apply Filters."
- Click the small pencil icon in the upper right corner to edit your file.
- On the file edit screen, Click the "Remove" button.
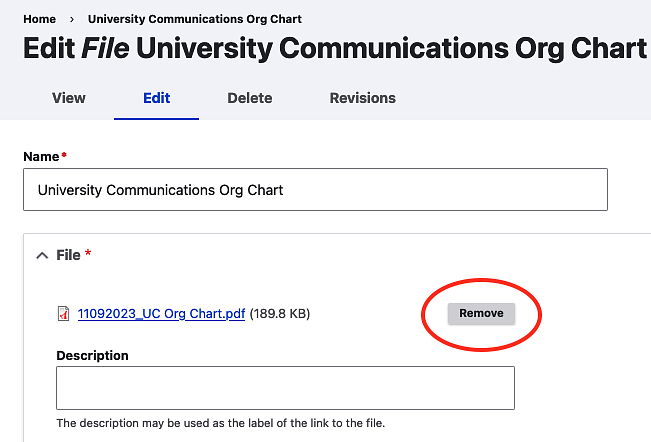
- Once the file is removed, click the "Browse" button to upload a file from your computer.

- Click "Save."
- Once your file is replaced, it is not completely deleted from the website. Follow the "Remove the File from the Files Tab" steps below to completely delete the old file from the website.
Delete Files
Remove the File from the Files Tab
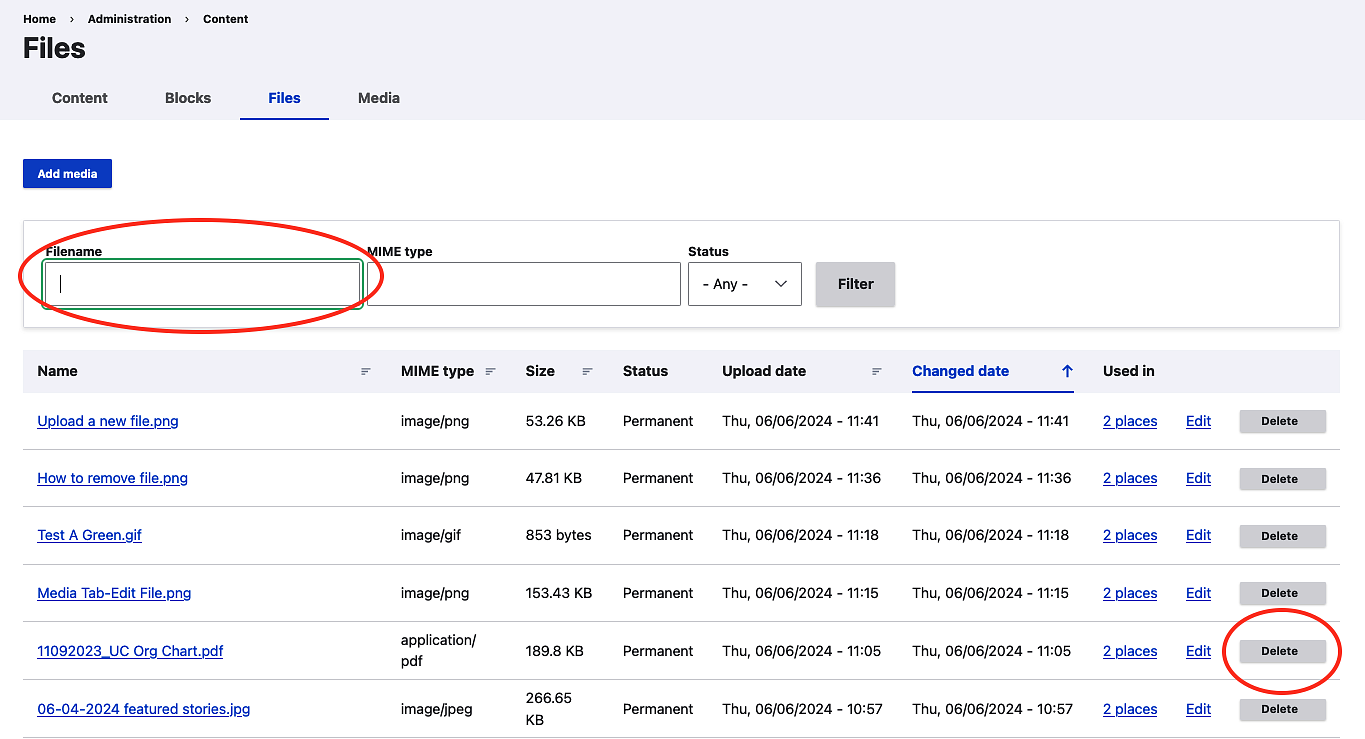
- Navigate to the "Files" tab to completely delete an old file from your website. If you replaced an old file with a new file as described in the section above, you still need to delete the old file from the Files tab to completely remove the outdated file from your site.
- To search for your file, type all or part of the file name into the "Filename" field and click the Filter button.
- Once you find your file, click the "Delete" button on the far right next to your file.
- You may be prompted to make sure you want to delete your item. If so, click "Delete" again.
NOTE: The delete option on the "Files" tab is only available on Drupal 10 websites. If your website is not in Drupal 10, you can contact us to have your file deleted.
Remove the File from the Media Tab
In some instances, even after a file has been deleted from the list in the Files tab, a media file may remain. It is important to do a quick search for the file in the Media tab to ensure that a related media file is not left behind.
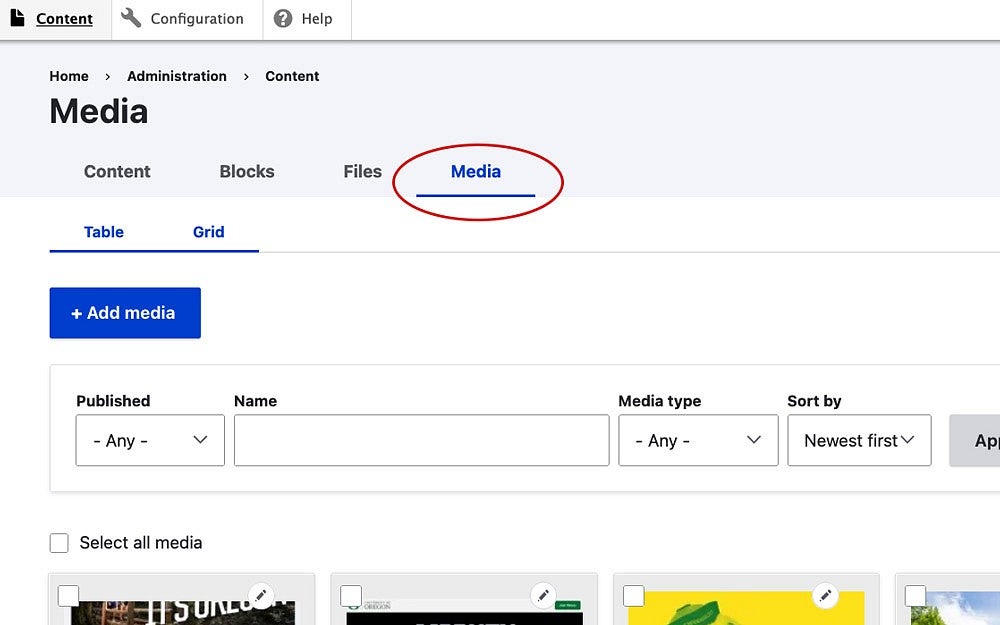
- Click on the Media tab.
- Type all or part of your file name in the "Name" field and then click "Apply Filters." When you find your file in the list of items on the Media page, click on the pencil icon in the top right corner of the media file icon to edit the media file.
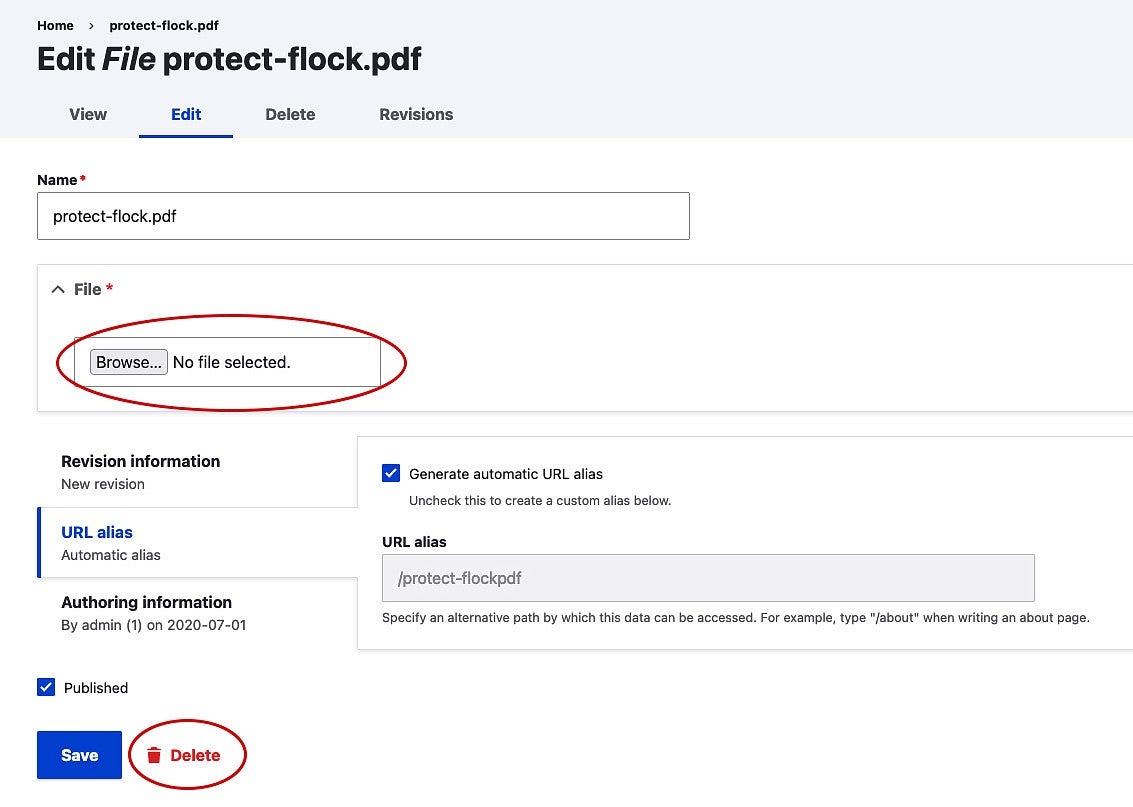
- If the file has been deleted from the Files tab, the File section will not show a file name and will display the Browse button instead, as shown in this screenshot below.
- To remove the media file, click the red Delete link next to the red trash can icon at the bottom of the page.
- Click Delete again in the confirmation panel that opens to delete the media file permanently.
Change Multiple Files
- Occasionally you may need to make updates to several files at the same time.
From the Media tab, you can select multiple files by checking the box in the upper left corner of each file.
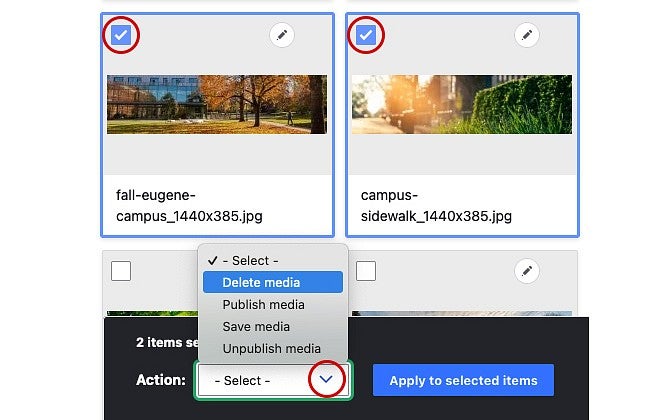
- Click on the Action dropdown menu and select one of the following options:
- Delete media
- Publish media
- Save media
- Unpublish media