A section header is a colorful banner with a title and links at the top of the section of content. See Around the O and Accountability at the University of Oregon for examples.
Add Section Headers
To create a section header, you will need to click on the template icon in the editor toolbar.
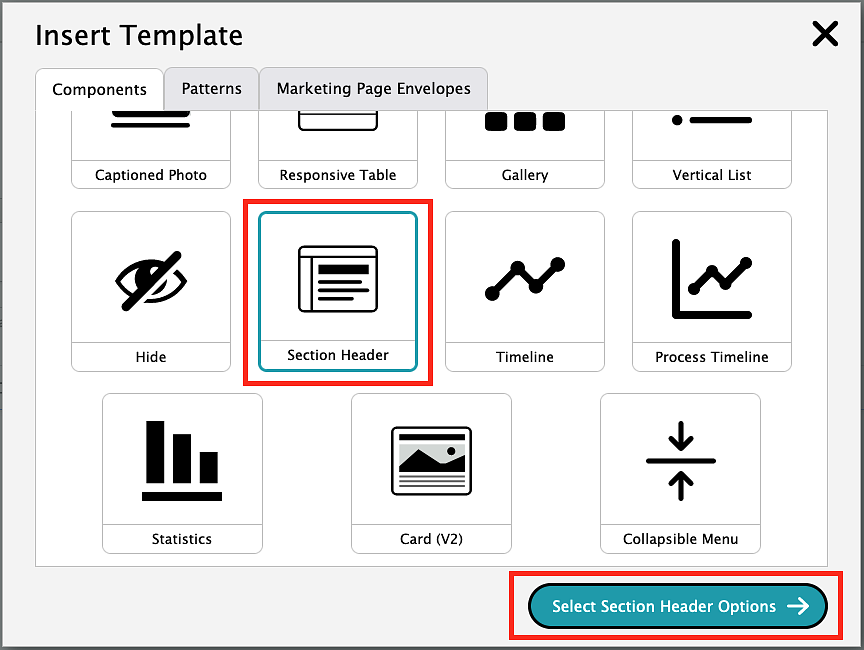
Choose the "Section Header" option from the templates. Then, click "Select Section Header Options."

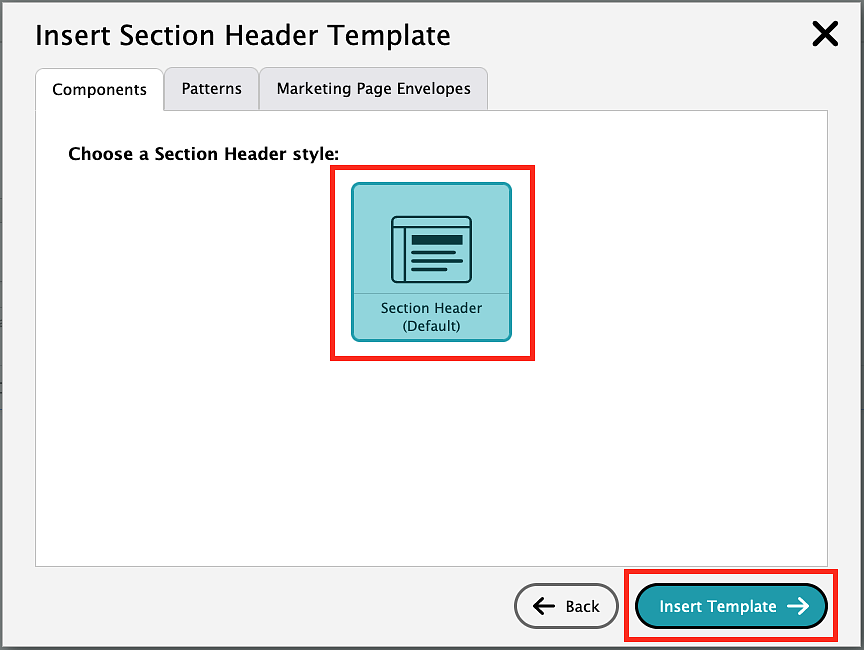
Under "Choose a Section Header style" select the "Section Header (Default)" option. Then, click the "Insert Template" button and it will automatically insert a new section header.

Section headers come with automatic styling for the section title and section links. You can copy and paste to replace the default text and link for the section links.
Section Header Styles
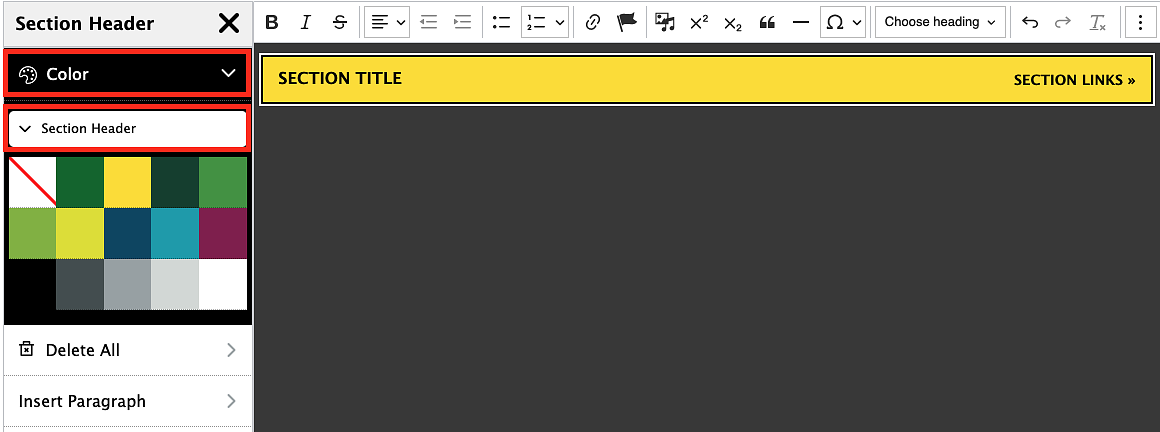
Section headers are automatically defaulted to have a green background. You can modify the style by right-clicking on the green background and selecting "Edit Section Header."

From the sidebar menu, select "Color," then "Section Header." This will bring up a color palette. Click on the color you want, then click the "X" at the top of the sidebar menu when finished.

Delete Section Header
To remove the entire section header, right-click on the green background and select "Edit Section Header."

From the sidebar menu, select "Delete All," then "Section Header." Finally, click the "Delete All" button to remove the section header.

Add a Space Before or After a Section Header
To add a space or start a new paragraph before or after your section header, right-click anywhere in the section header bar and select "Edit Section Header." This will bring up the sidebar menu.

From the sidebar menu, select "Insert Paragraph," then "Section Header." Click "Insert Para Before" if you want to insert a space or new paragraph above the timeline. Click "Insert Para After" if you want to insert a space or new paragraph below the timeline.

