Timelines are the vertical arrangement of a list of events in chronological order. On desktop, our timelines alternate between the left and right sides of a center line. On tablet and mobile, those elements stack into one line.
Add Timelines
To create a timeline, you will need to click on the template icon in the editor toolbar.
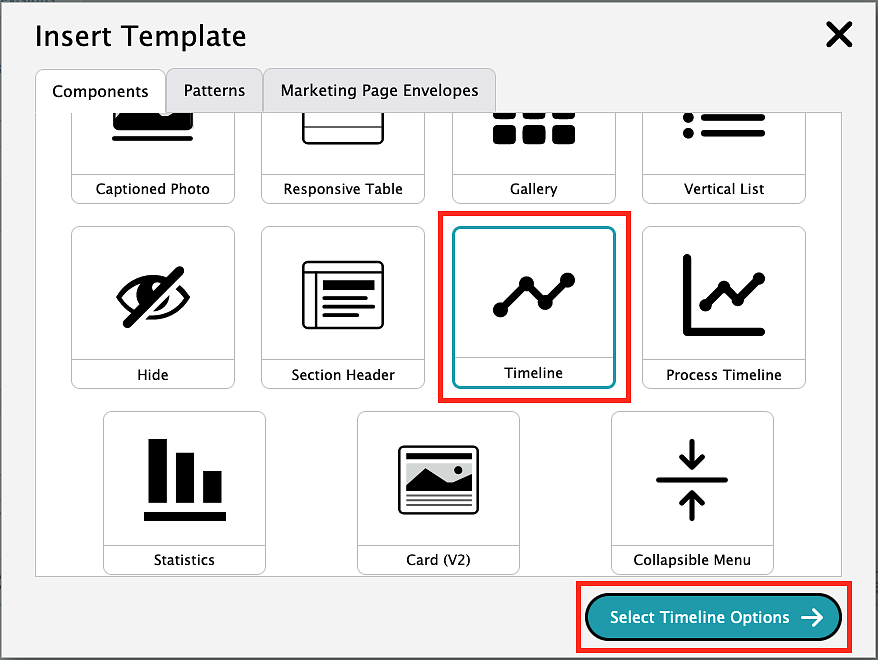
Choose the "Timeline" option from the templates. Then, click "Select Timeline Options."
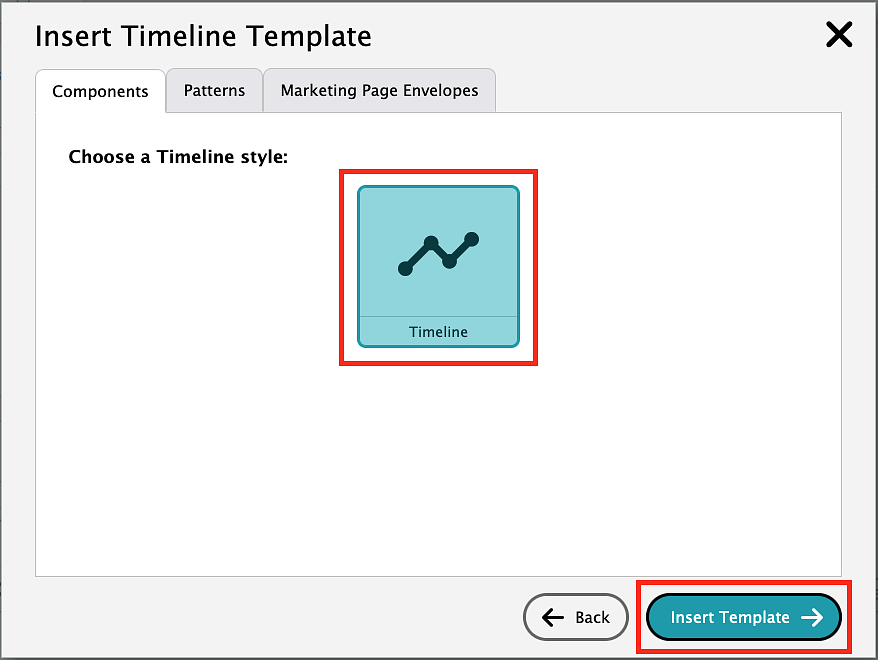
Under "Choose a Timeline Style" select the Timeline option. Then, click the "Insert Template" button and it will automatically insert a new timeline.
Timelines come with automatic styling for the date, title, and teaser text. You can copy and paste to replace the default text.
Timeline Styles
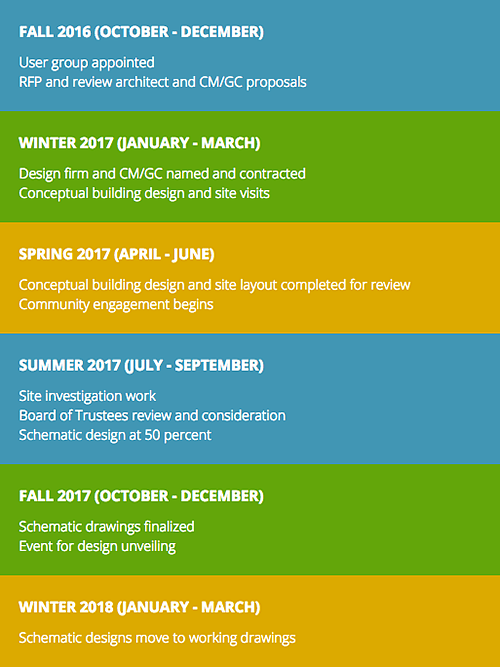
Timelines are automatically defaulted to have a blue background. You can modify the style by right-clicking on the blue timeline card and selecting "Edit Timeline List Item."

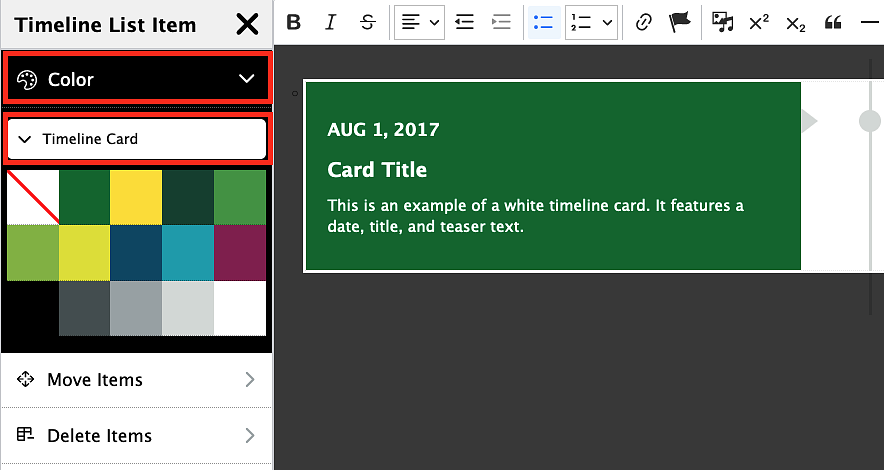
Click the "Color" option, then "Timeline Card." From here, select the color option from the color palette. Once your card is the color you want, click the "X" in the top right corner to exit out of the timeline style editor.
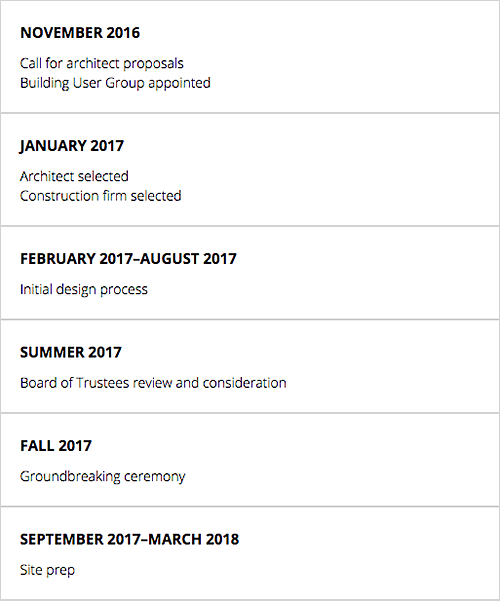
NOTE: It is best to alternate colors on additional timeline items because on mobile when they are all stacked, there is no delineation between the different items unless they are different colors. The only exception is if all of the items are white, then there is a gray border that shows the different timeline items.
Add or Clone Timeline Items
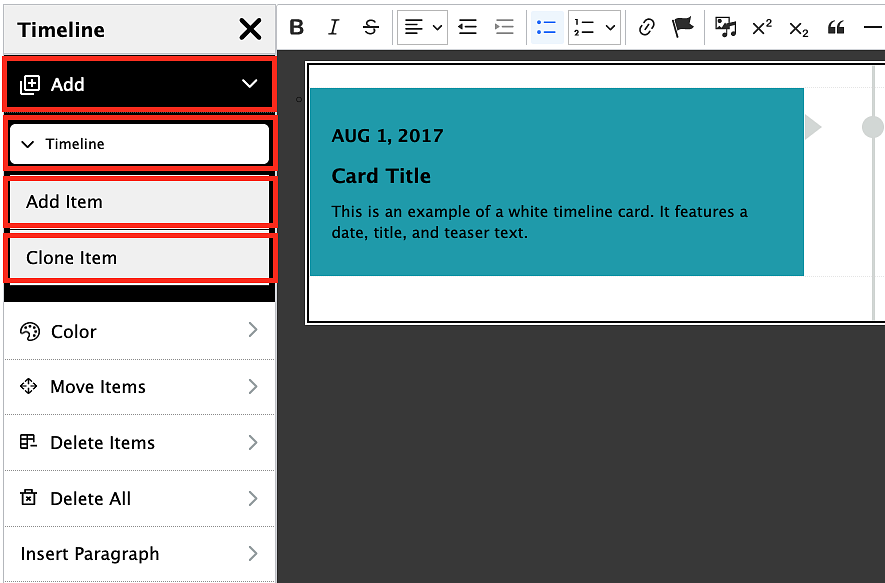
To add or clone timeline items, right-click on any of the timeline cards and select "Edit Timeline." This will bring up the lefthand sidebar menu.

From the lefthand sidebar menu, select the "Add" option then click "Timeline." To add a new timeline item, select "Add Item." To clone the last timeline item on your timeline, select "Clone Item."
Rearrange Timeline Items
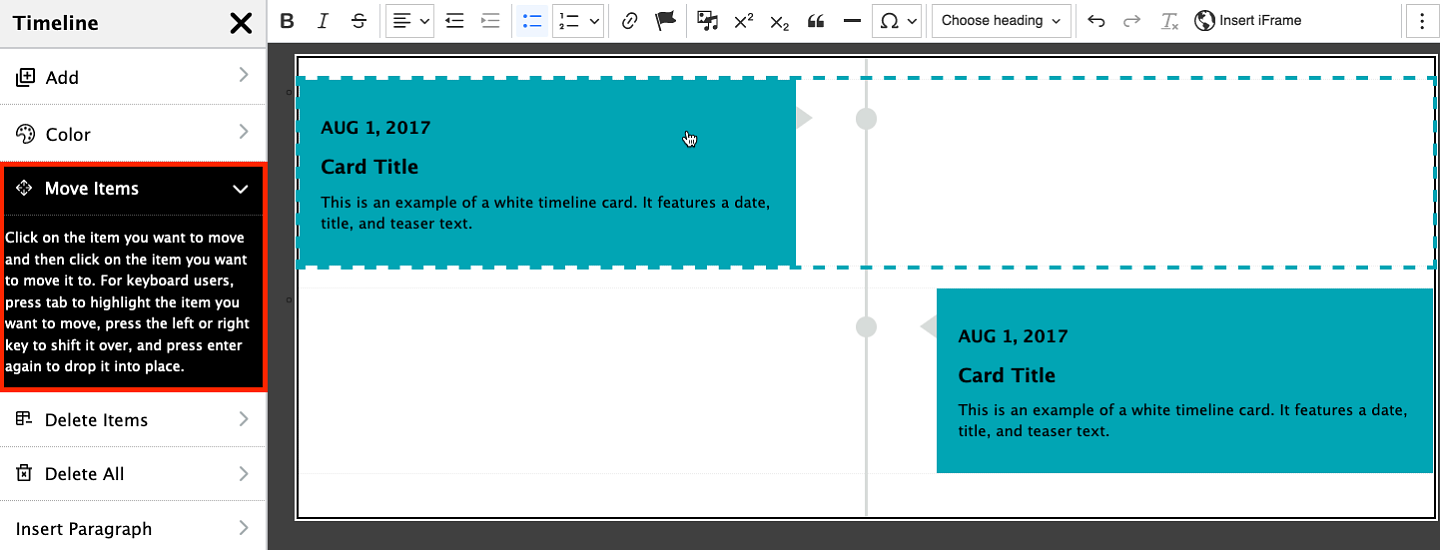
To rearrange timeline items, right-click on any of the timeline cards and select "Edit Timeline." This will bring up the lefthand sidebar menu.

Click on the "Move Items" option, click on the timeline item you want to move, then click on the area you want to move it to. For keyboard users, press tab to highlight the item you want to move, press the the left or right key to shift it over, and then press enter to drop it into place.
Delete Timeline Items
To remove one item from a timeline, right-click on any of the timeline cards and select "Edit Timeline." This will bring up the lefthand sidebar menu.

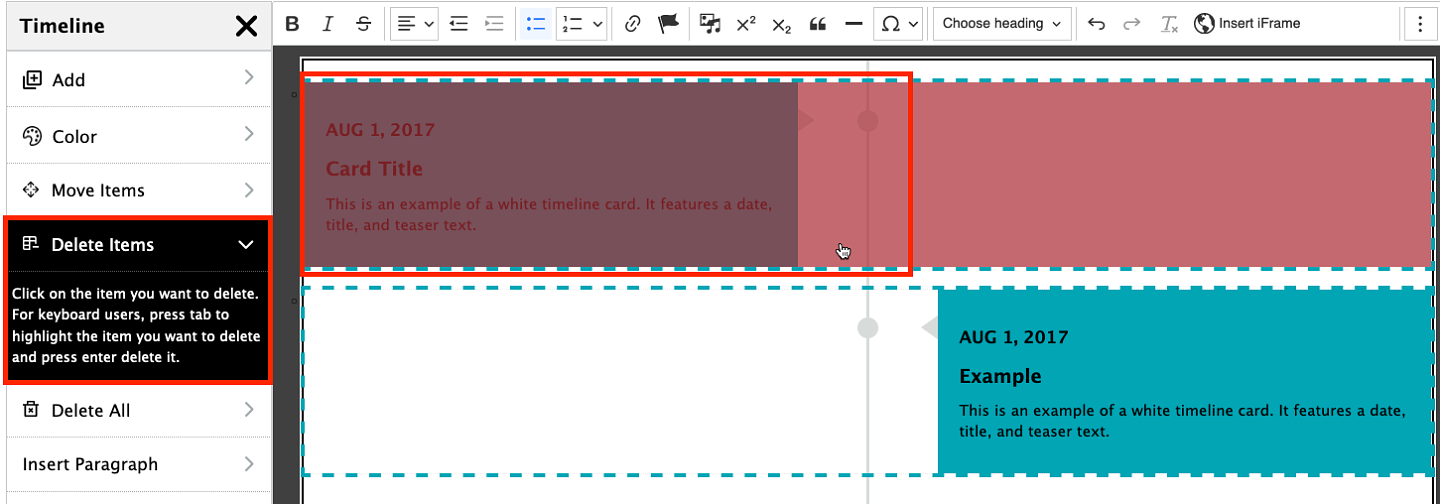
Click the "Delete Items" option on the lefthand sidebar, then click on the item you want to delete (the item will be highlighted in red when you hover over it). For keyboard users, press tab to highlight the item you want to delete, and then press enter to delete it.
Delete Timeline
To remove the entire timeline, right-click on any of the timeline cards and select "Edit Timeline." This will bring up the lefthand sidebar menu.

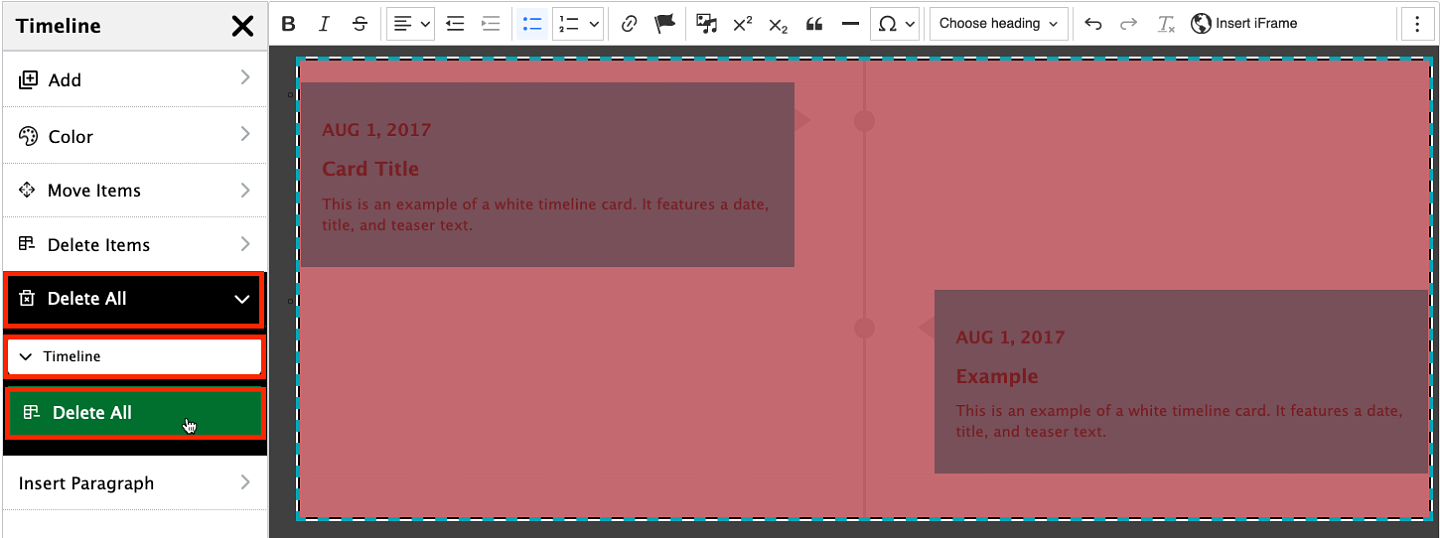
Click on the "Delete All" option, then "Timeline", and "Delete All." Once you click "Delete All," the entire timeline will be removed.
Add a Space Before or After a Timeline
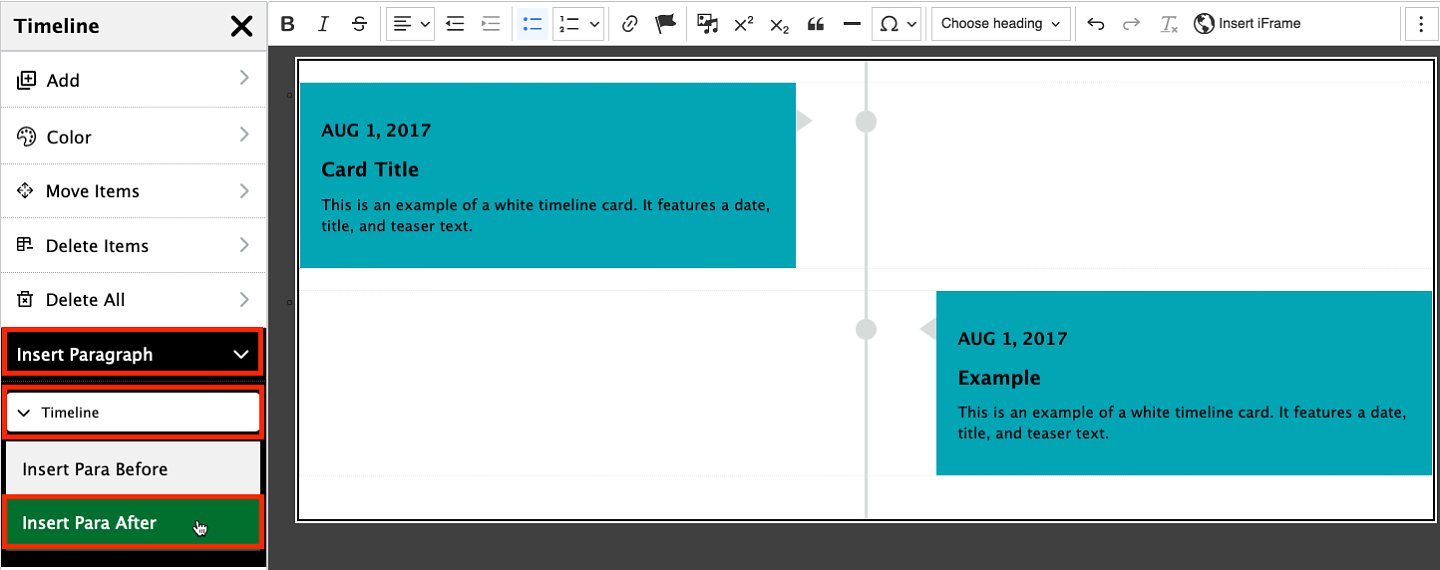
To add a space or start a new paragraph before or after your timeline, right-click on any of the timeline cards and select "Edit Timeline." This will bring up the lefthand sidebar menu.

From the lefthand sidebar menu, click the "Insert Paragraph" option then click "Timeline." Click "Insert Para Before" if you want to insert a space or new paragraph above the timeline. Click "Insert Para After" if you want to insert a space or new paragraph below the timeline.
