Photo navigation is a grid of photo buttons used to navigate to sections of a website. They are automatically defaulted to be three-column, flush grids, which cannot be changed using this pattern template.
Add Photo Navigation
To create photo navigation, you will need to click on the template icon in the editor toolbar.
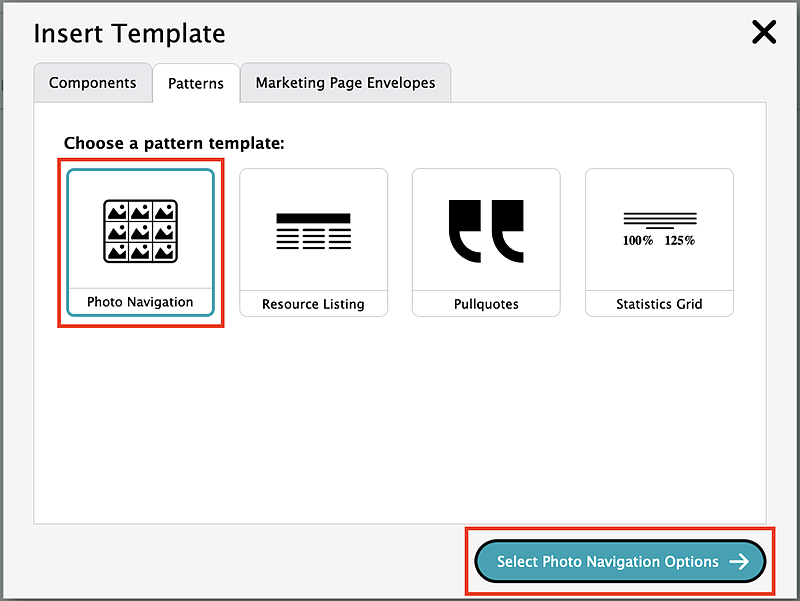
Choose the "Photo Navigation" option from the templates. Then, click "Select Photo Navigation Options."
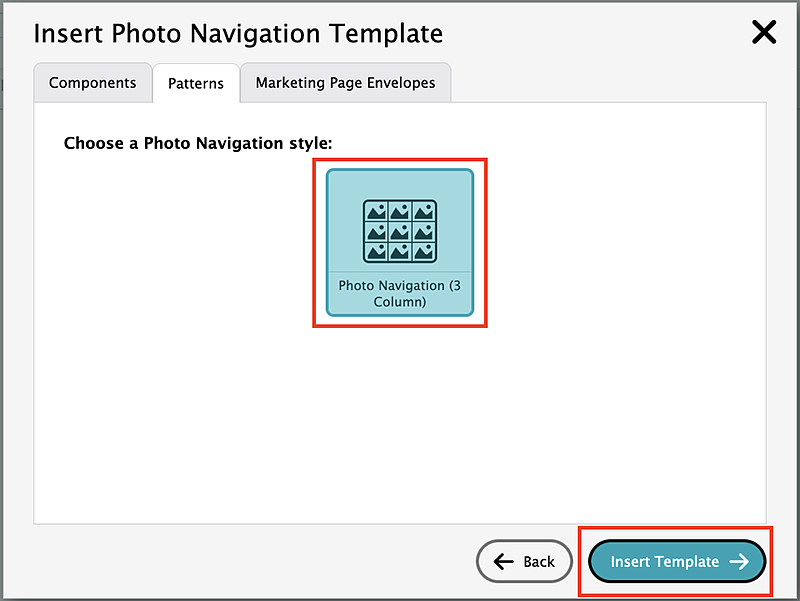
Select the "Photo Navigation (3 Column)" option then click the "Insert Template" button. This will add the photo navigation to the page.
Highlight the existing "Photo Caption" text and type in your new button link text. Click anywhere in the text, then select the pencil icon in the pop up dialog to add your link to the button.

To add your photo, click on the placeholder image then the insert media icon in the WYSIWYG editor. That icon will bring up the media browser popup box that you see when you add new images and will function exactly the same, except you are replacing the existing placeholder image with a new one. Follow the same steps as adding a new image and the old image will be replaced by a new one.

Photo Navigation Styles
Photo navigation buttons are automatically defaulted to have a gradient at the bottom. You can modify the style by right clicking on the photo button and selecting the "Edit Photo Button" option. This will bring up the sidebar.

From the sidebar, select "Style" then "Photo Button." Select either the shade, no shade or bottom gradient options. The option that is highlighted in yellow will be the one that is currently applied.
NOTE: The no shade option should be reserved for images that are all one color so that the text is readable.
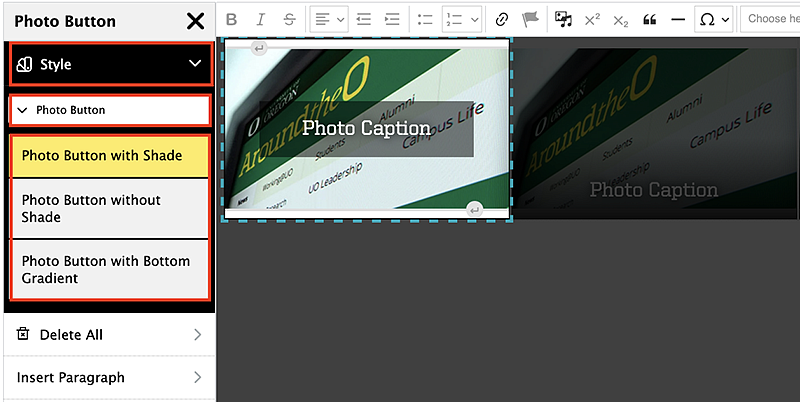
Photo Button Style Examples
Rearrange Photo Navigation Items
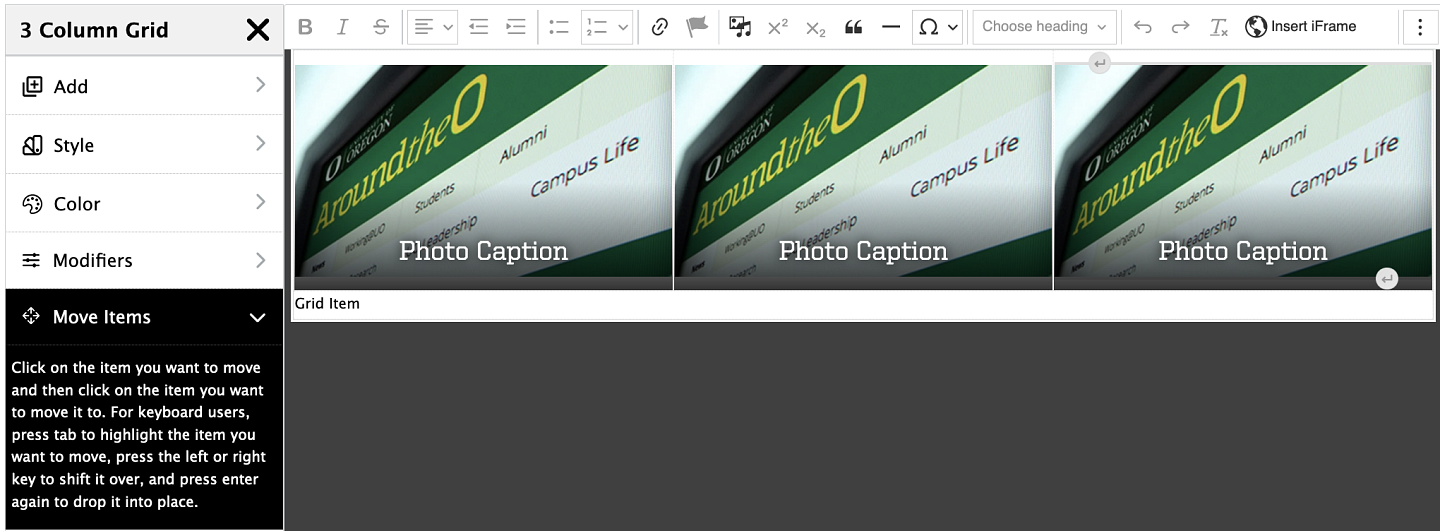
To rearrange grid items in your photo navigation, right click on any of the photo buttons in your grid and select the "Edit 3 Column Grid" option. This will pull up the sidebar menu.

From the sidebar, select "Move Items." Click on the item you want to move and then click on the item you want to move it to. For keyboard users, press tab to highlight the item you want to move, press the left or right key to shift it over, and press enter again to drop it into place.
Delete Photo Navigation Items
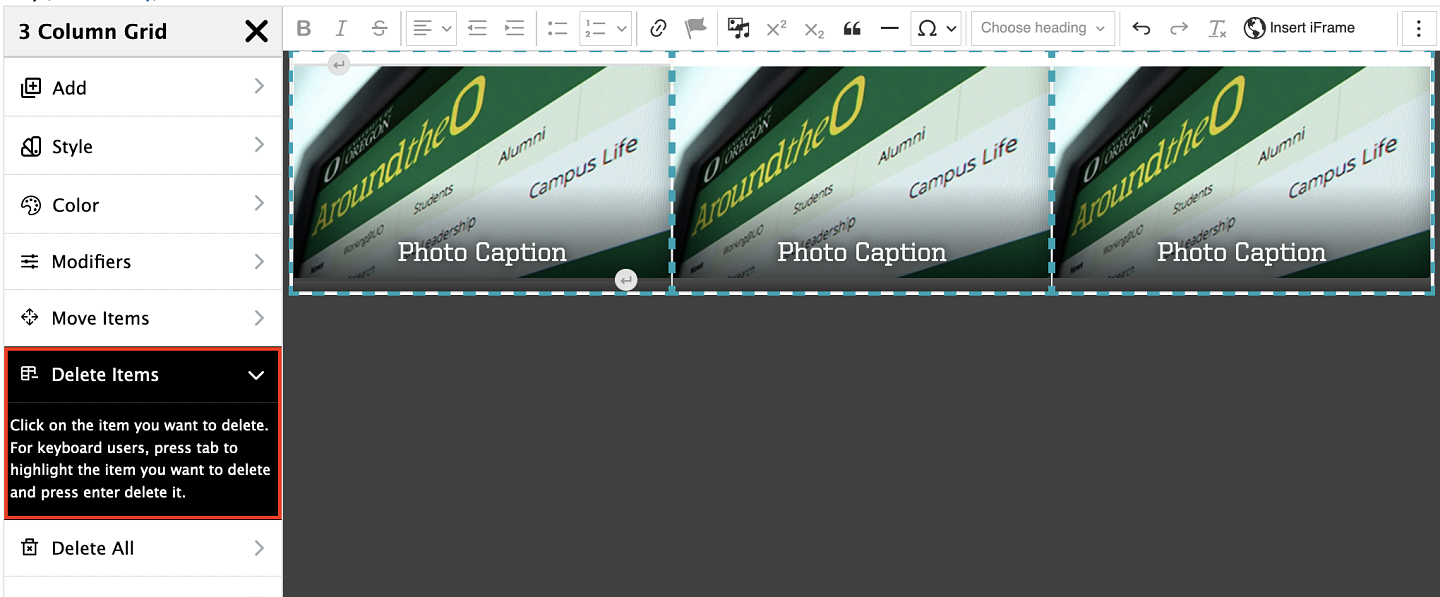
To remove one item from a photo navigation grid, right click on any of the photo buttons in your grid and select the "Edit 3 Column Grid" option. This will pull up the sidebar menu. From the sidebar menu, select "Delete Items." Click on the item you want to delete. For keyboard users, press tab to highlight the item you want to delete and press enter to delete it.
Delete Photo Navigation
To remove the entire photo navigation, right click on any of the photo buttons in your grid and select the "Edit 3 Column Grid" option. This will pull up the sidebar menu. From the sidebar menu, select "Delete All," then "3 Column Grid." Click the "Delete All" option below the "3 Column Grid" option and the entire photo navigation will be deleted.


