Galleries are something that you can use to feature several images in one block on your page, such as from a past event.
Getting Started Tips
- Always format your images for the web before uploading them.
- Consider where your users will interact with your gallery as interaction with a gallery can stop further progress down the page.
- Make sure all of your photos have Alt text for each image.
Adding a Gallery
To add a gallery to your content, place your cursor in the spot where you want the new gallery to be and click the template icon:
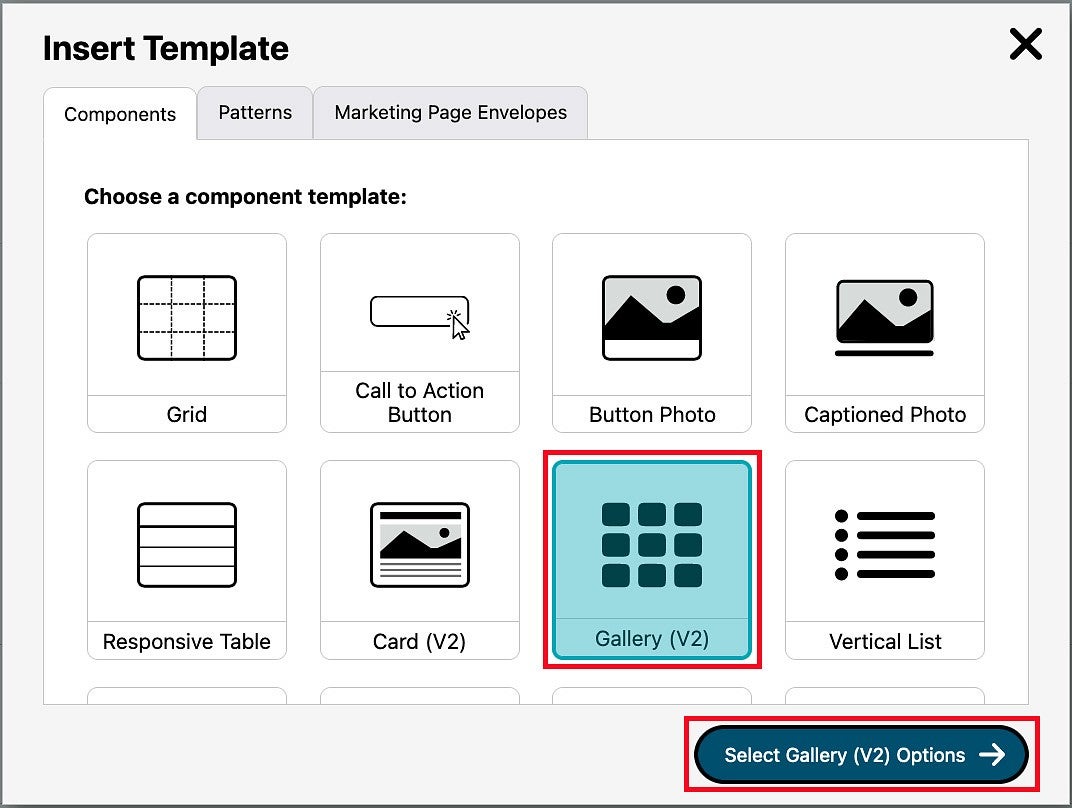
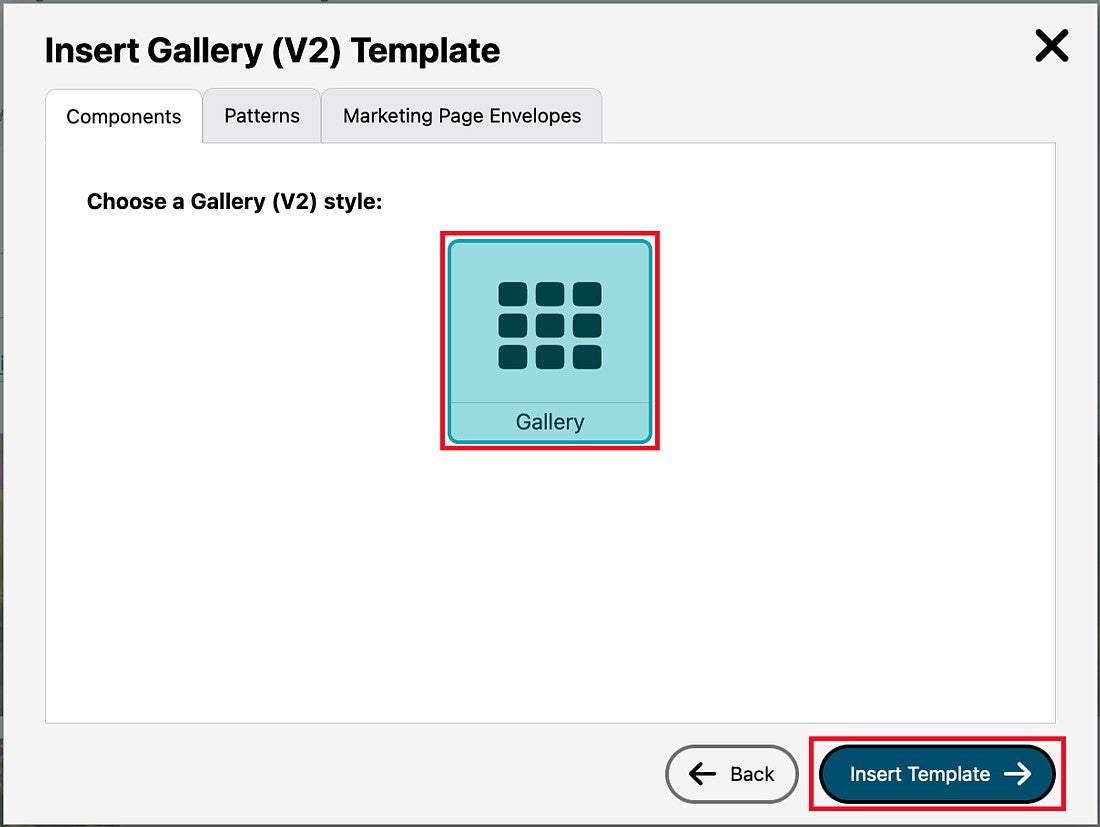
This will bring up the Insert Templates pop-up window. Choose the option labeled "Gallery (V2)" and click the "Select Gallery (V2) Options" button. Select "Gallery" in the next window, and then click the "Insert Template" button. It will automatically insert a new Gallery that is ready to be filled with your chosen images.
Adding Images to Your Gallery
By default, the Gallery V2 template provides three placeholder images in a 3-column grid. You can edit the grid as desired.
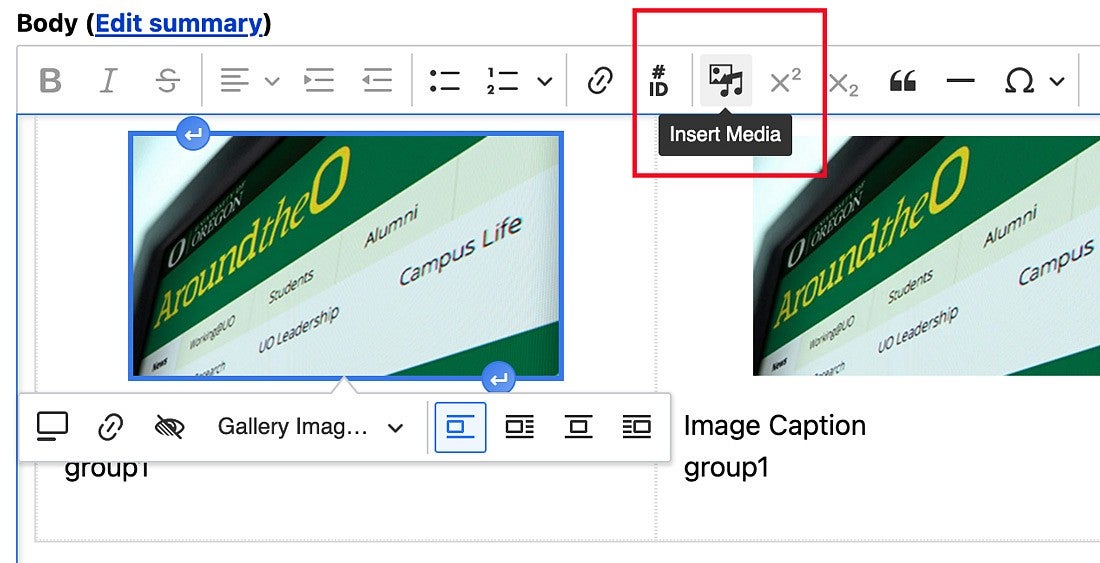
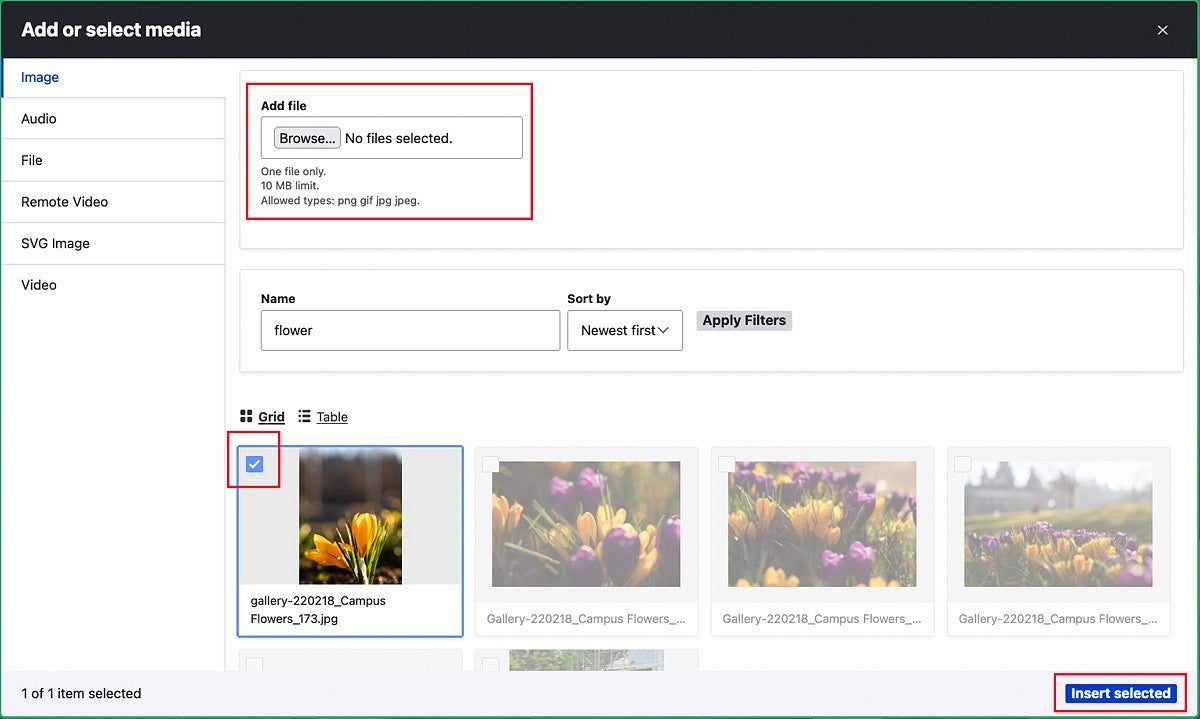
To replace the placeholder images with your images, click a placeholder images to select it (the image will have a blue frame around it when selected) and click the insert media icon in the editor toolbar. This will open the media browser pop-up window.
Browse to the image on your computer or select an image from your media library.
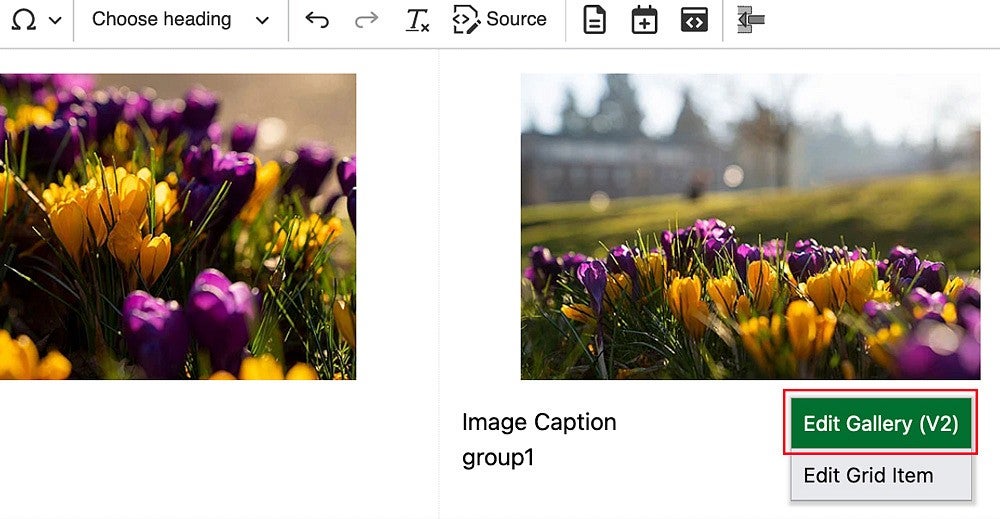
To add more images to your gallery, right click next to the last gallery image and select the "Edit Gallery (V2)" option to bring up the sidebar editor.
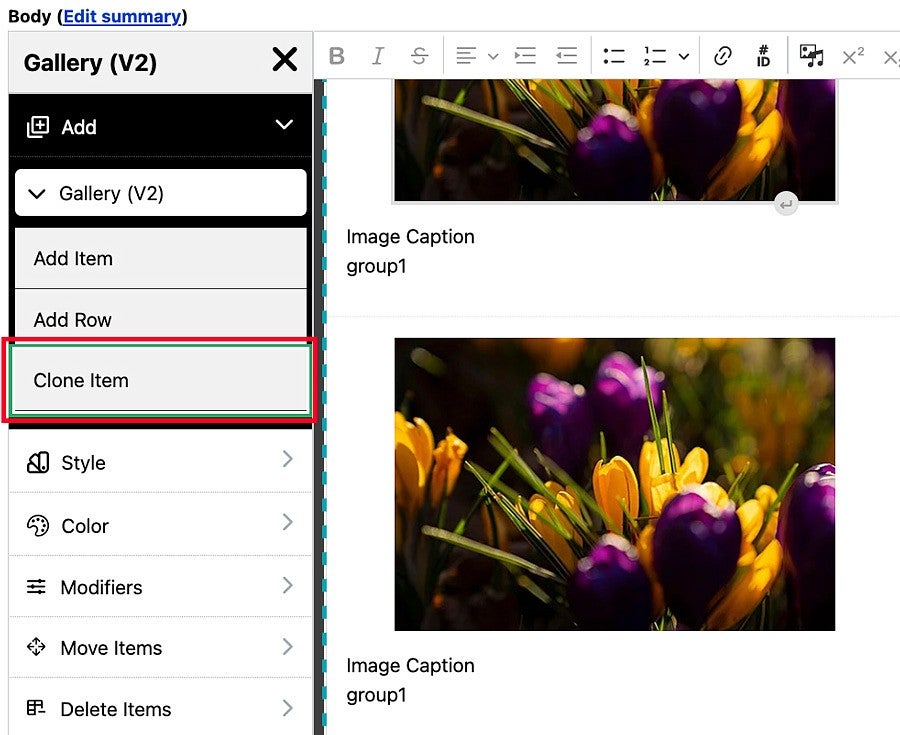
The easiest way to add more images is to select "Clone Item" from the Add menu. This will add a new grid item that contains a copy of the image from the first grid item in your gallery. It will also add a placeholder caption and the gallery name (the default name is "group1"). You can then replace the image following the same steps you used to replace the placeholder images. The other options, "Add Item" and "Add Row," will add additional blank grid items to your gallery grid.
To exit out of the sidebar, click the "X" button in the top right.
Add a caption to each image by replacing the default caption text ("Image Caption") with your preferred text. Captions allow text styles like italics and bold, as well as links.
Add a Gallery Background Color
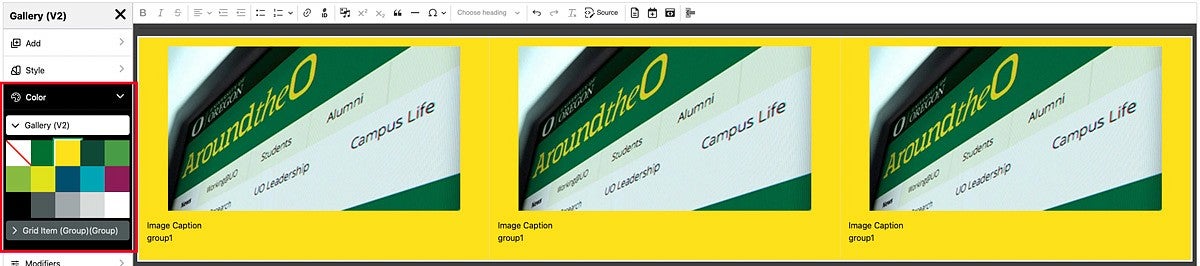
To add or change the background color of a gallery, bring up the sidebar menu by right clicking next to the latest image in your gallery and clicking "Edit Gallery (V2)". From the sidebar menu, select "Color" then "Gallery (V2)" to bring up a color swatch. Click on the color you want to use and it will be applied to your gallery background.
Modify the Gallery Grid
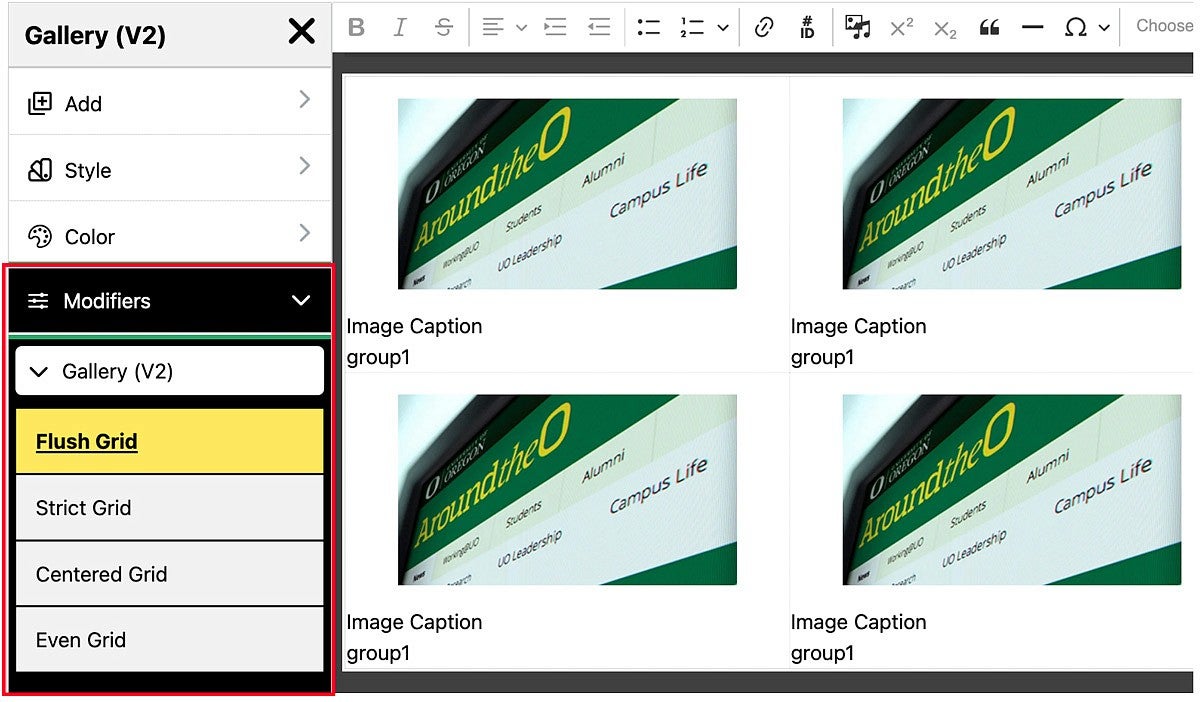
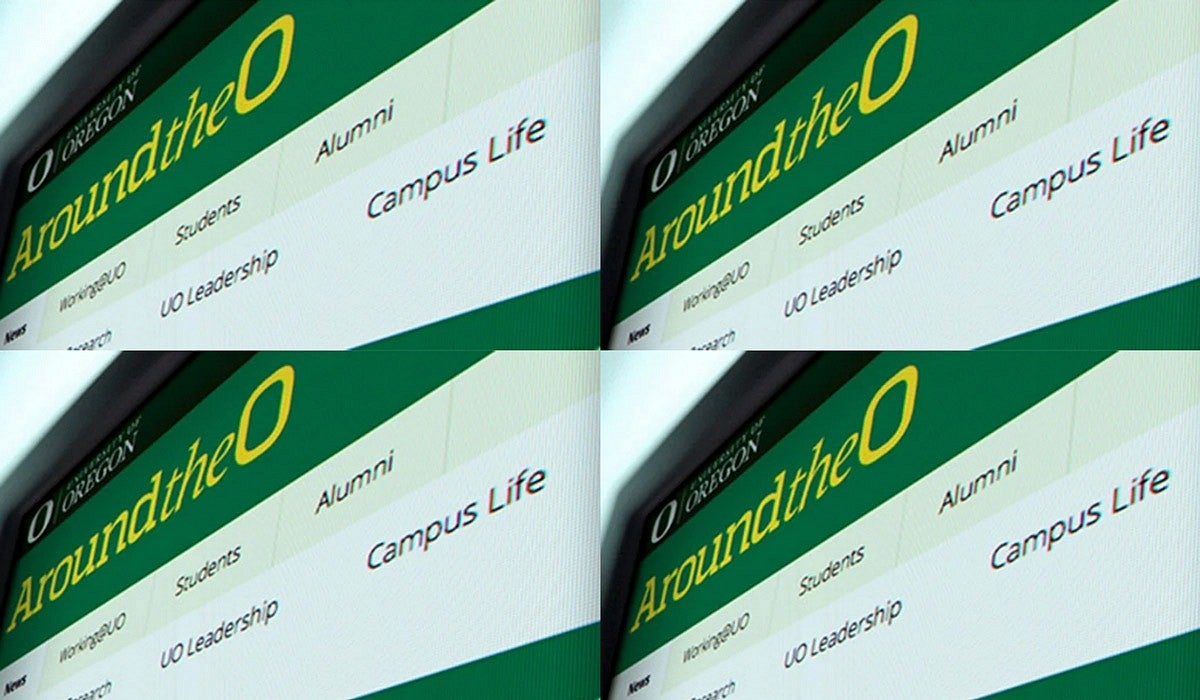
To modify the layout of the grid that displays your gallery thumbnails, right click an image and then click "Edit Gallery (V2)". In the sidebar menu, click Modifiers and then "Gallery (V2)". The options are Flush, Strict, Centered, and Even. The images below show "Flush Grid" selected, and then the appearance of the flush grid without spaces between the images.
Move Gallery Items
To move or rearrange gallery items, bring up the sidebar menu by right clicking next to an image in your gallery and clicking "Edit Gallery (V2)" and click "Move Items".
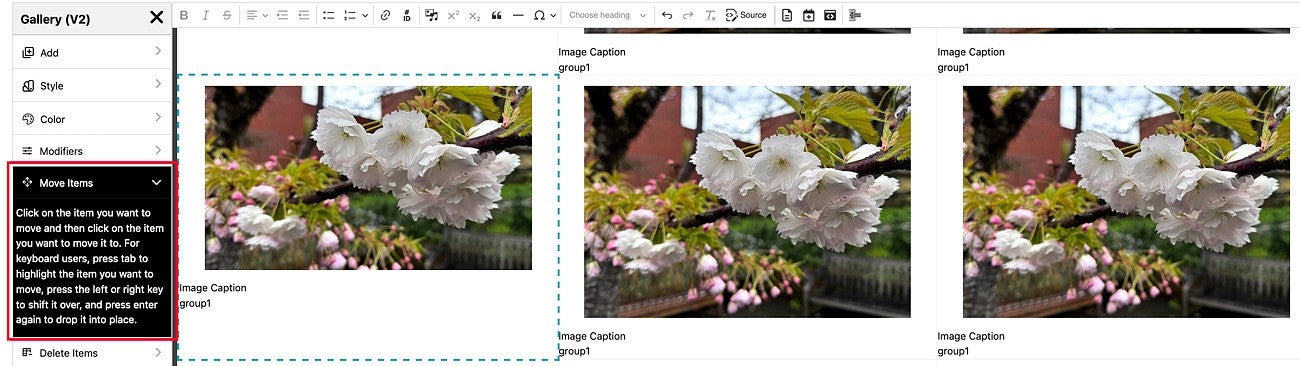
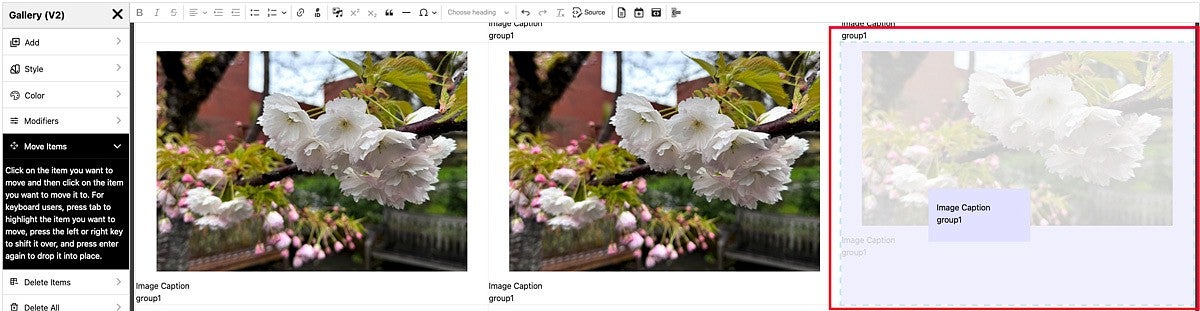
Click on the item you want to move. Hover over the location you want to move the photo to and you will see a preview of the image there with a lavender overlay as shown in the screenshot below. Click to select that location. For keyboard users, press tab to highlight the item you want to move, press the left or right key to shift it over, and press enter again to drop it into place.
Delete Gallery Items
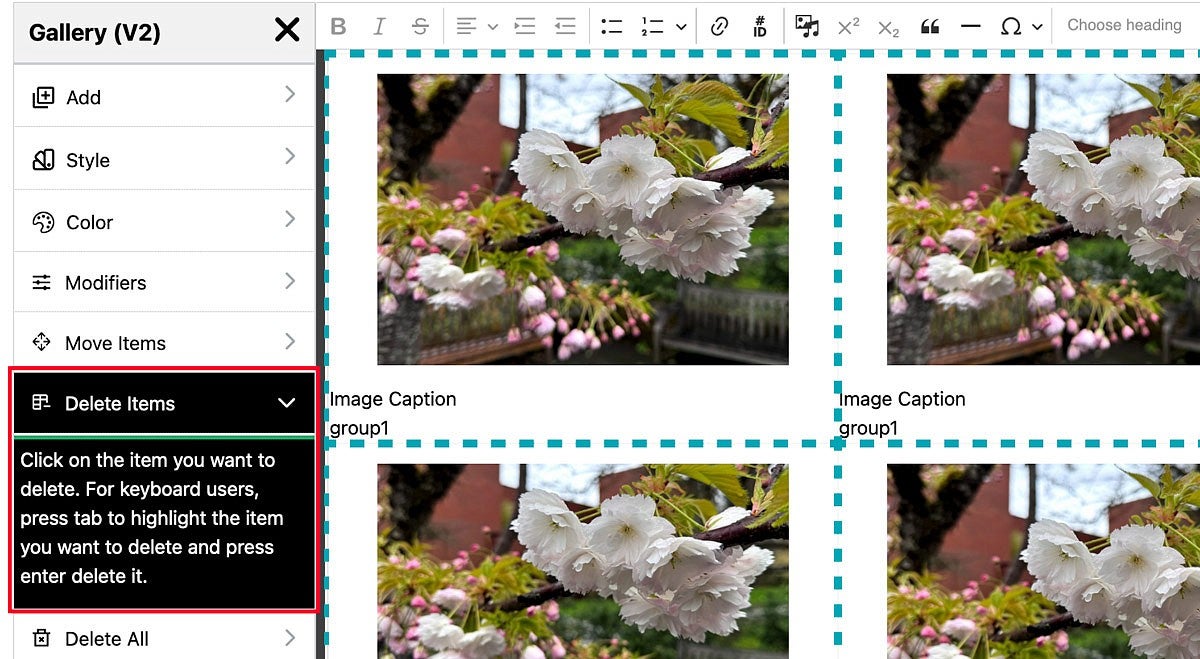
To delete items in a gallery, bring up the sidebar menu by right clicking next to the latest image in your gallery and clicking "Edit Gallery (V2)". Select "Delete Items" then click on the item you want to delete (the item will have a red overlay when you hover over it). For keyboard users, press tab to highlight the item you want to delete and press enter to delete it.
Delete a Gallery
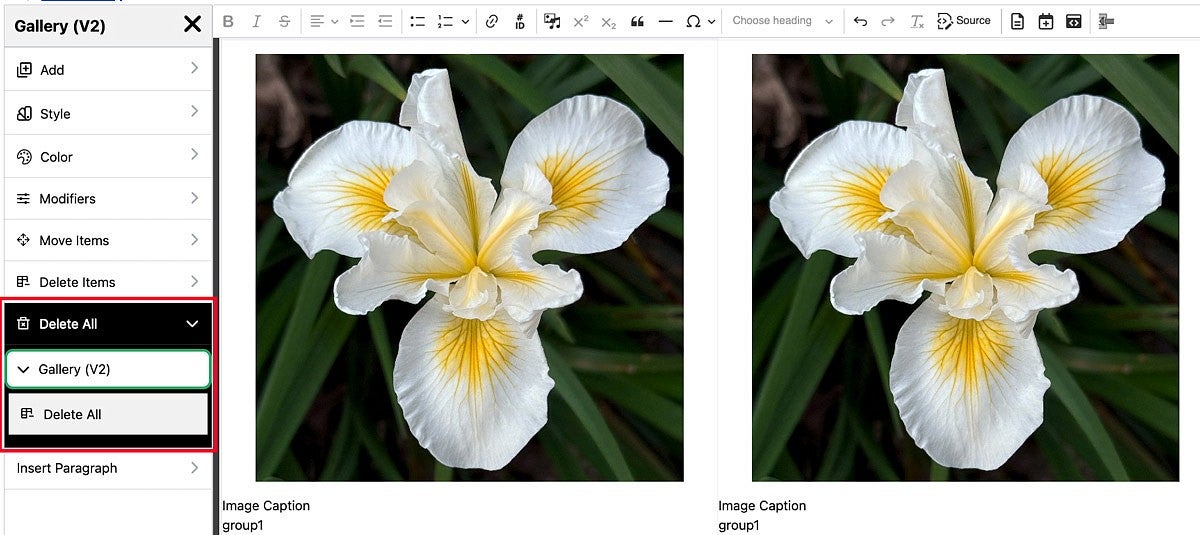
To delete an entire gallery, bring up the sidebar menu by right clicking next to the latest image in your gallery and clicking "Edit Gallery (V2)". From the sidebar menu, select "Delete All" then "Gallery (V2)". Click the "Delete All" button to delete the entire gallery.
Multiple Galleries on a Page
Occasionally, you may want to have more than one gallery on a page, such as if you have a page showcasing past events or provide multiple ways for your users to navigate a story. In this case, all you need to do is edit the "group#" text below your gallery images to separate your images into more than one group, such as "group1" or "group2" if you wanted 2 separate groups.
Add a Space or New Paragraph Before or After a Gallery
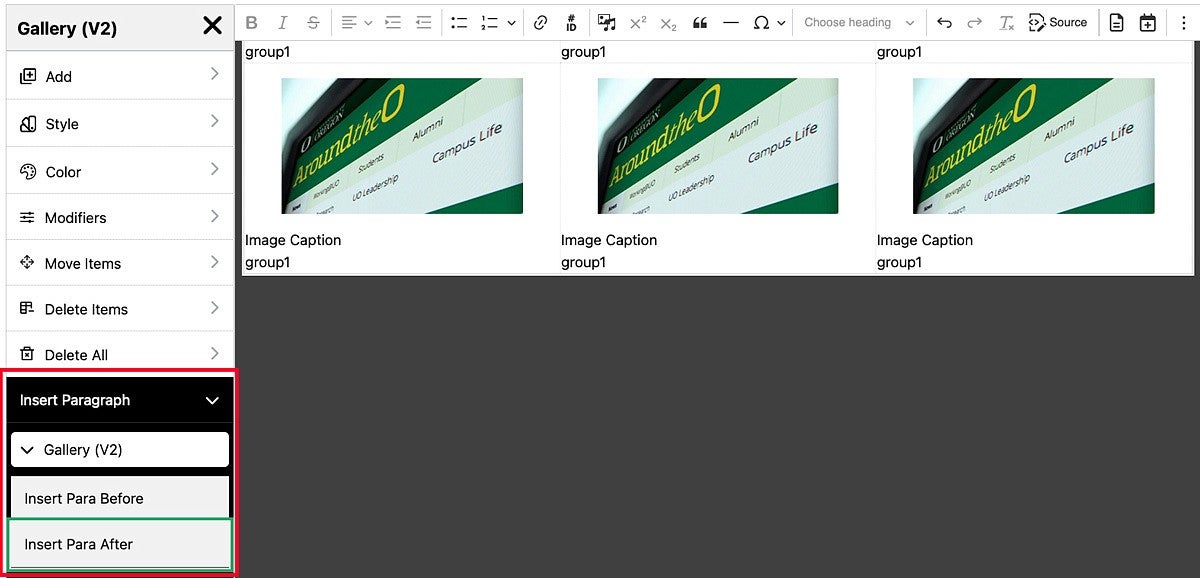
To add a space or new paragraph before or after a gallery, bring up the sidebar menu by right clicking next to the latest image in your gallery and clicking "Edit Gallery (V2)". From the sidebar menu, select "Insert Paragraph" then "Gallery (V2)". Click "Insert Para Before" to insert a space or new paragraph above the gallery. Click "Insert Para After" to insert a space or new paragraph below the gallery.